In this article
The POS is based on many panels. Every window which appears in the POS is a panel.
A Panel is like a puzzle: it consists of many parts which cannot overlap each other. The panel’s parts are rectangles which can be of different sizes, length, and width. Each panel covers at least one column and one row. It is possible to configure each part so that it covers more space by using the span feature for the columns and rows.
Each panel has a few FastTabs: General, POS Panel Row/Column List, and POS Panel Control Lines.
The Panel has one or many Panel Control Lines. Each Panel Control Line is configured with one of the Interface Profile Controls. The fields with the Panel Control Lines are used depending on the Control Type used in the line.
Controls that can be in a Panel:
- Button Pad Control
- Data Grid Control
- Input Control
- Record Zoom Control
- Media Control
- Browser Control
To create a new panel
- Click the
 icon, enter POS Interface Profile List, and select the relevant link.
 - Double-click the Interface Profile the new panel is going to be a part of.
- Click Related - Profile and then Panel List.
- Click the New action.
Tip: A quicker way is to open POS Panel List directly, but then you have to enter the Interface Profile ID manually for a new panel.
The Panel Card: Example #POS panel in Interface Profile #LEO

For each panel you have to define different things, such as the size of the panel and its fields, the number of columns and rows, and finally the data for the panel. This is done on the Panel Card.
The General FastTab
| Field | Description |
|---|---|
| Control ID | Each panel has its own unique ID; max 20 characters, alphanumeric. |
| Description | The panel’s description; max 30 characters, alphanumeric. |
| Columns and Rows | Enter the number for each, these form the parts of the panel. |
| Back Color | The background color, if no value is specified, the background takes the active style's default color. |
| Border style and Cell Border Style | Style for the border, a few selections for each. |
| XPos and YPos | Where in the window are the panel X and Y positions; with 0 value they start in the window's bottom-left corner. The unit here is pixels. |
| Width (%) and Height (%) | The panel’s size as percentage of the window it is in. |
| Width and Height | The panel’s width and height in pixels. |
| Padding | The extra space around the panel in pixels. |
| Codeunit | Some fixed panels have a setup for specific codeunits. In those cases the codeunit’s number is here. If a codeunit is defined, POS Commands triggered from this panel are first run through this codeunit. |
The POS Panel Row/Column List FastTab
On the POS Panel Row/Column List FastTab you set up all the columns and rows that you defined in the General FastTab.
You must set up one line per column or row.
Each column and row line has Type, Number, Size Type, and Size fields.
| Field | Description |
|---|---|
| Type | Column or row. |
| No. | Unique number for each line. |
| Size Type | 3 options:
Tip: |
| Size | The size of the field. The value here depends on the value set for the Size Type field. When the type is:
|
The POS Panel Control Lines FastTab
A Panel consists of many parts where each part is designed for some specific information. The POS Journal is, for example, one part of the #POS Panel.
With the POS Panel Control Lines you set up each part of the panel. One panel must have at least one POS Panel Control Line. Each panel control is either one of the controls you define within the Interface Profile or a Panel; that is a panel can include another panel.
The different parts of the panel should not overlap each other. You can have one part can cover more than one column and/or row by using the Span value.
| Field | Description |
|---|---|
| Line No. | Unique number for each line, use line numbers of your choice, for example 1, 2, 3, and so on. |
| Column | The column number this part starts in. |
| Row | The row number this part starts in. |
| Column Span | When a part spans more than one column, this is the number of columns it spans. 0 (zero) is default and is for one column. |
| Row Span | When a part spans more than one row, this is the number of rows it spans. 0 (zero) is default and is for one row. |
| Control Type | These controls are set up and assigned for the interface profile. The same control can be used in multiple panels. Tip: Use the hyerplinks to learn more about how to create and work with the controls. |
| Control ID | Works with the Control Type field; select the control ID for this line. |
| Key Command Button Pad | If this check box is selected, this Button Pad Control is set as the ‘Key Commands Button Pad’ for this Panel. This means that shortcut Keys that have been mapped to Menu Buttons (in the POS Key Commands page in the Hardware Profile) will find and execute a Menu Button on the Menu that is active in this Button Pad control. |
| Control Assignm. | Information that is defined with the control is displayed in this field. |
| Dynamic Control | The control selected on the line is a dynamic control. It does not have any menu or data table assigned. The control can be used with multiple menus or data tables. When this panel is shown, the Control Assignment field contains the menu or data table that should be shown in the control for the pane. |
| Dynamic Ctrl. Assignm. | This field contains the menu or data table that should be shown in the control for this panel. The control is dynamic and the same menu or data table can be used in multiple panels. |
Tip: It is easy to move the lines up and down with the Up and Down features  .
.
Warning: The system does not check if the panel's parts overlap each other. The user must make ure in the setup that there is no overlap.
Fixed Panels
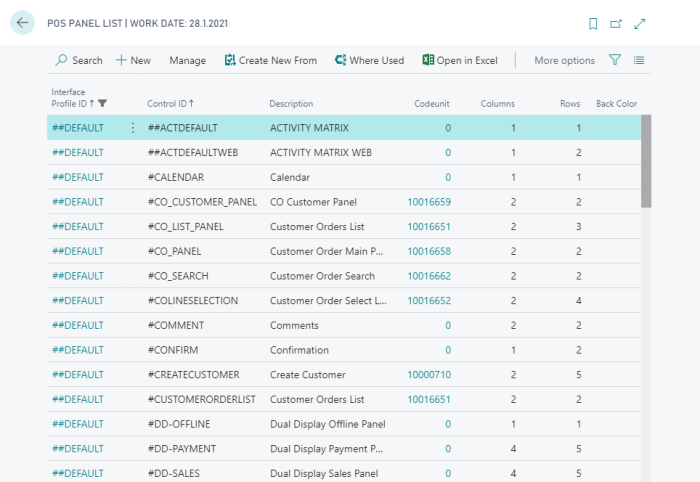
In the ##Default Interface Profile you have a list of panels for the POS Client, some of them are fixed names.
Examples:
You can have more fixed panels, for example for Hospitality.
Important Panels:
- #POS is the main POS screen. This is the screen where the user can start to sell on the POS
- ##OFFLINE is the first panel that loads when the POS client starts. This is also the panel the LOGOFF command opens.
Note: The #POS Panel has to exist in every Interface Profile, even if it is identical to the one in the ##DEFAULT interface profile.
Note: Each panel is divided into parts and their position is fully defined. The parts cannot overlap each other when used in the POS, the user must make sure that there is no overlap between the panel lines. The panel size is defined for each individual panel.