This section explains how to download the virtual machine and import it in Hyper-V Manager.
- Download the compressed virtual machine package for the desired Magento edition, and extract it to your local drive:
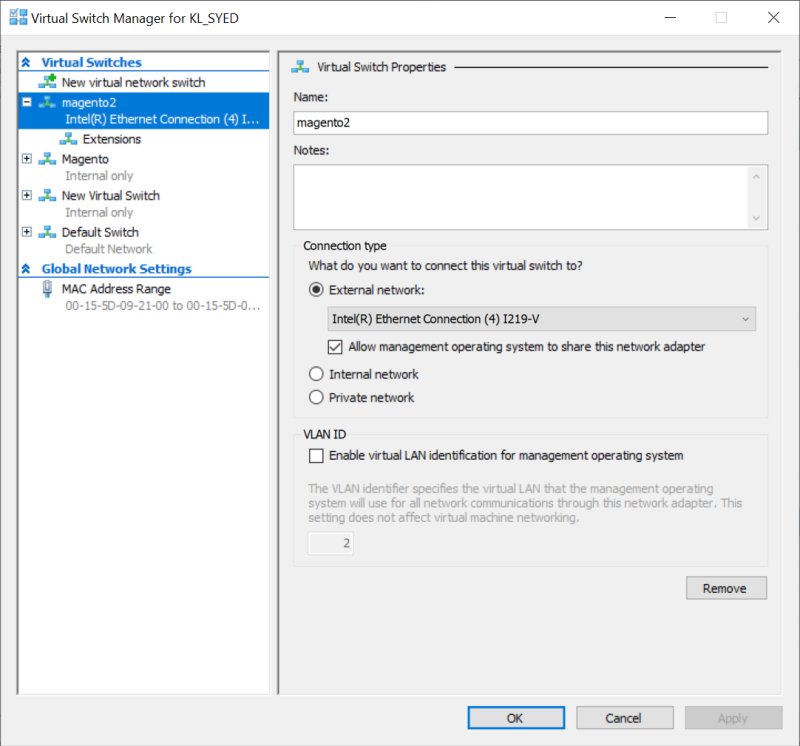
- Create a Virtual Switch Manager with any name, for example “magento2”, with the below configuration:
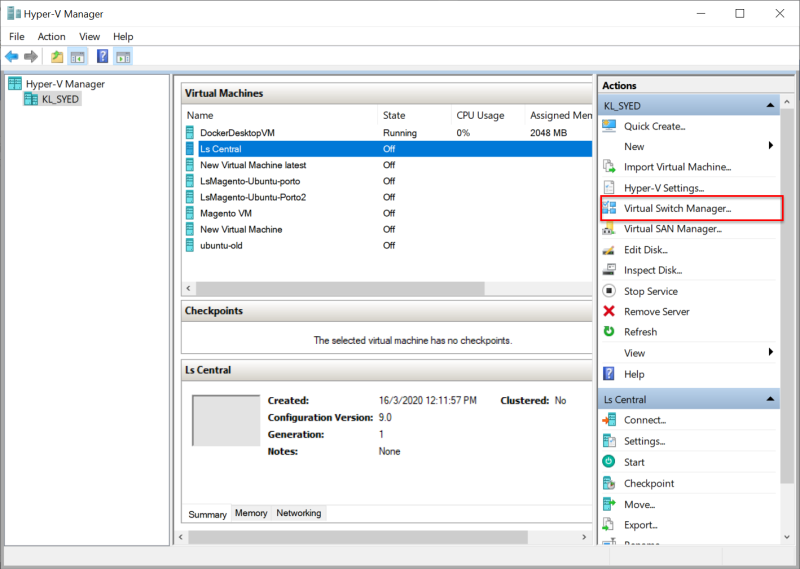
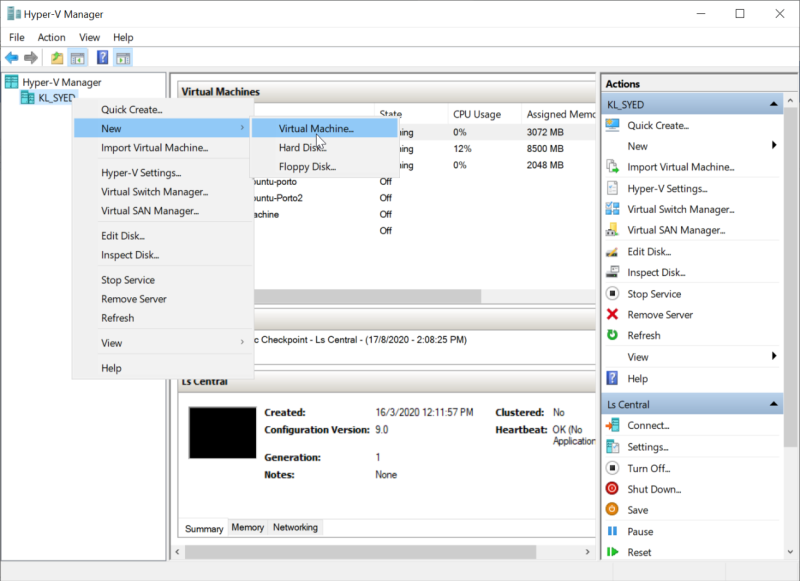
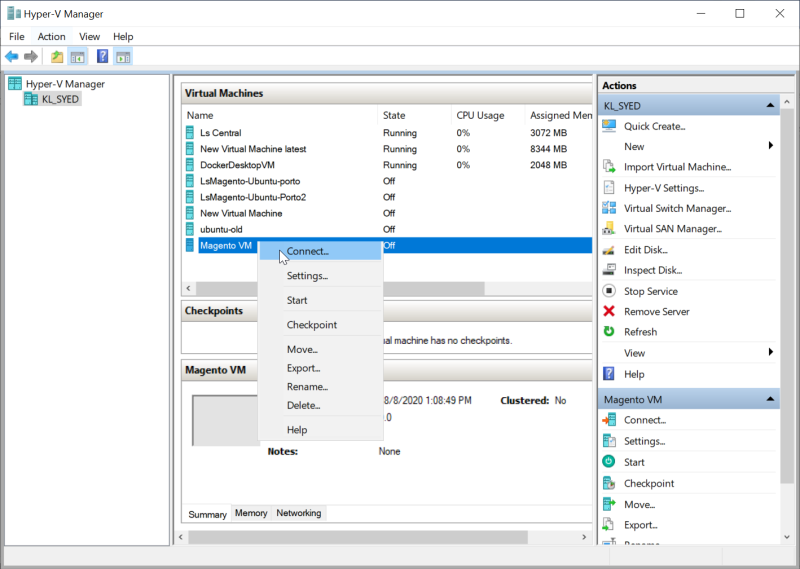
- Open the Hyper-V Manager, right-click the left navigation bar, and select New - Virtual Machine:
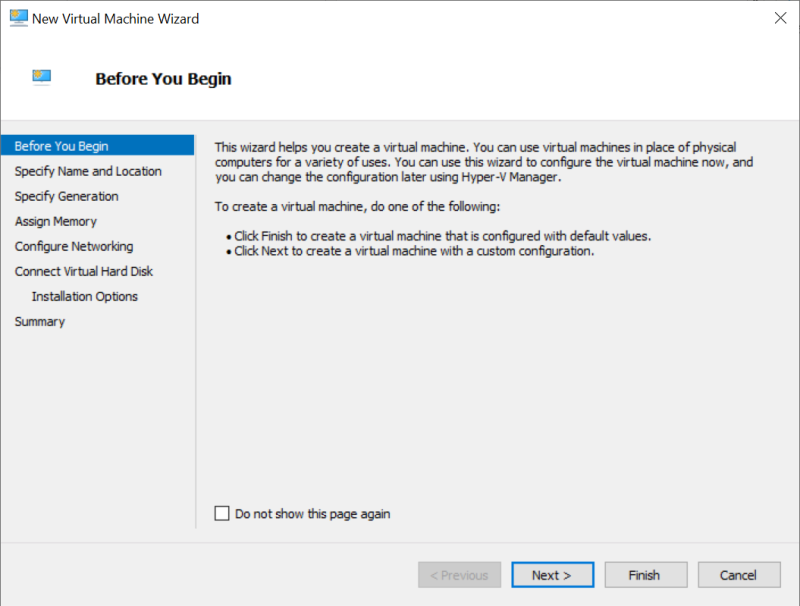
- A dialog window for creating the new machine is displayed. Click Next to start the create process:
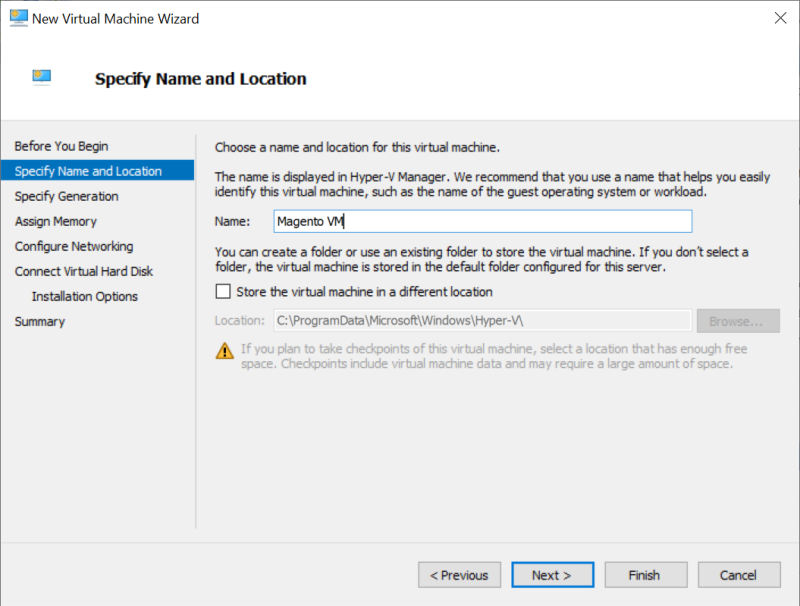
- Enter a name for the VM, for example “Magento VM”:
-
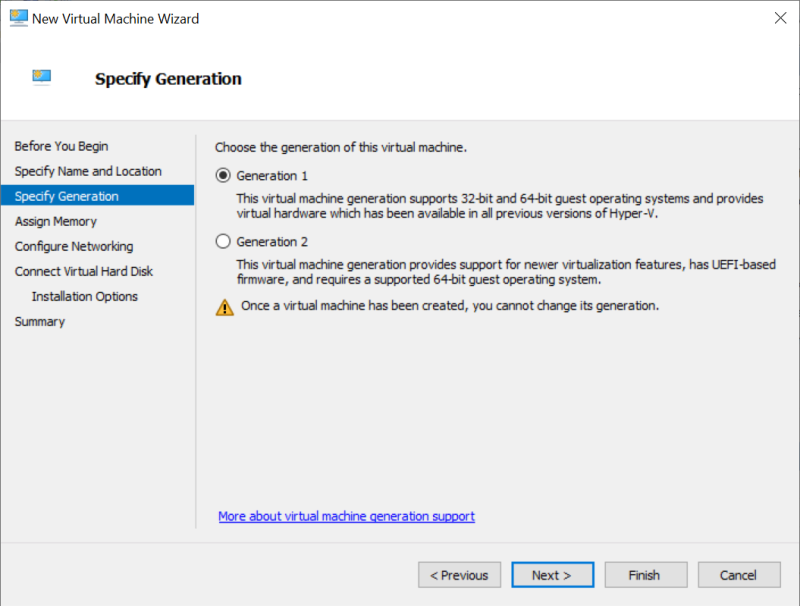
In the next screen you specify a generation. Accept or select the default Generation 1:
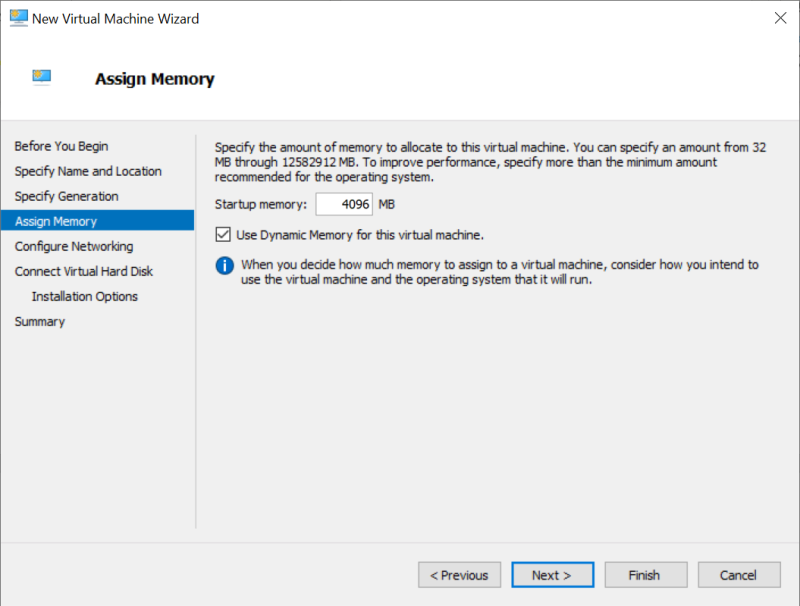
- Assign a memory to the virtual machine. In this example 4096 MB RAM is assigned, but you can specify more memory to make the VM run faster. We recommend that you provide at least 16 GB RAM as the elastic search consumes a lot of memory.
-
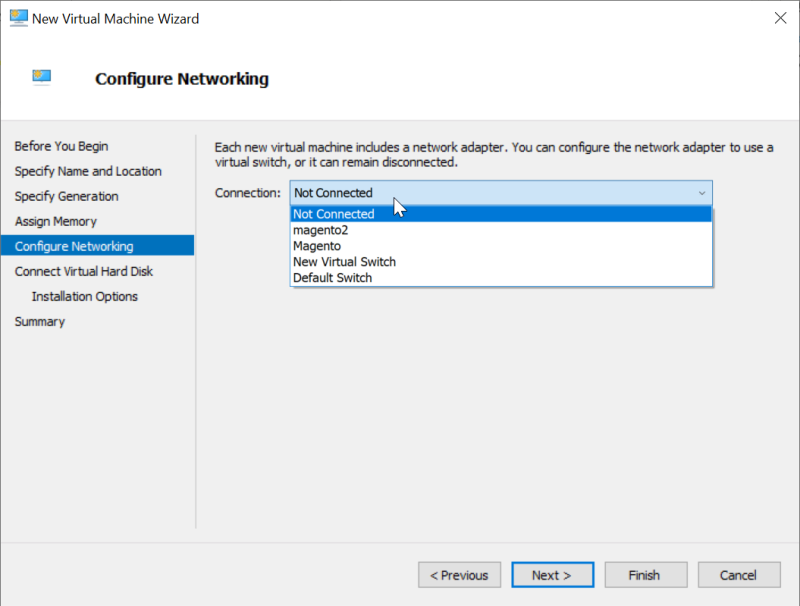
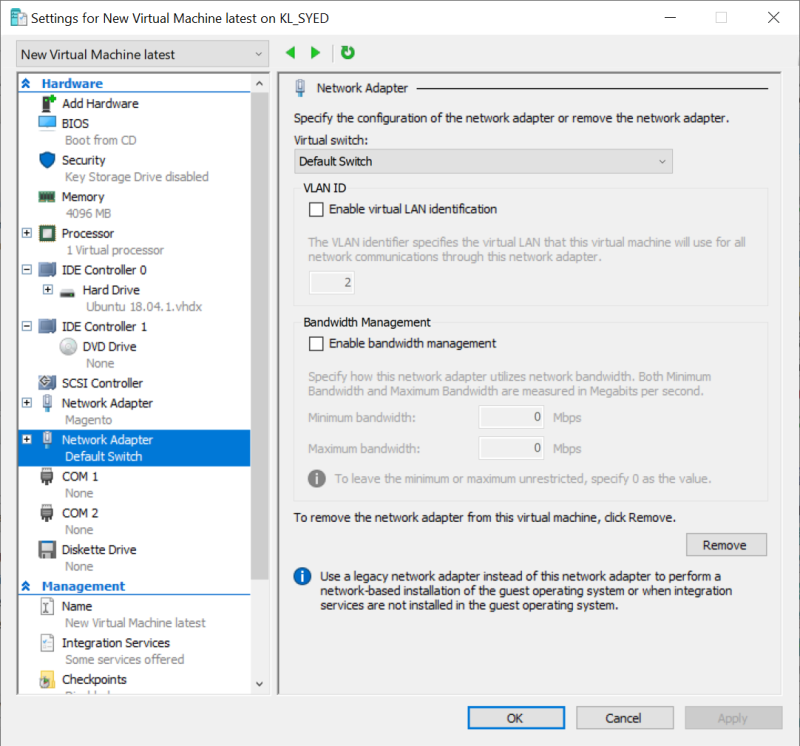
Next step is to connect to the network. The virtual switch that you created in step 1 is used here:
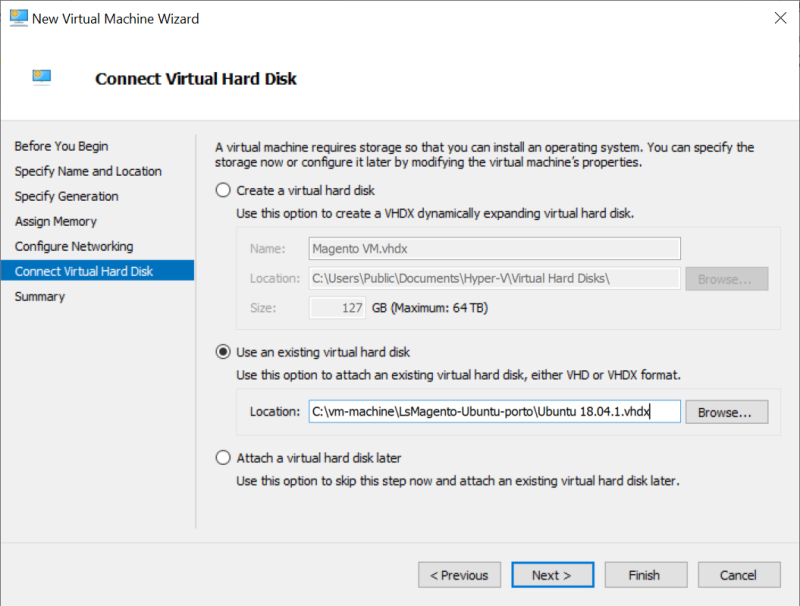
- The final step is to select the Virtual Machine hard disk that you downloaded from the LS Retail Portal, Ubuntu 20.04.vhdx:
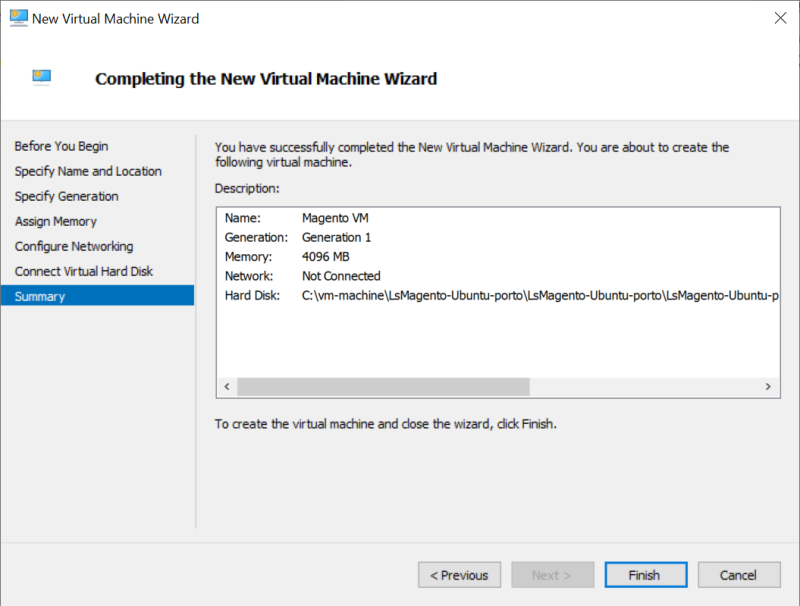
- Click Next, and then Finish on the following screen. You will see a newly created VM in your Hyper-V window.
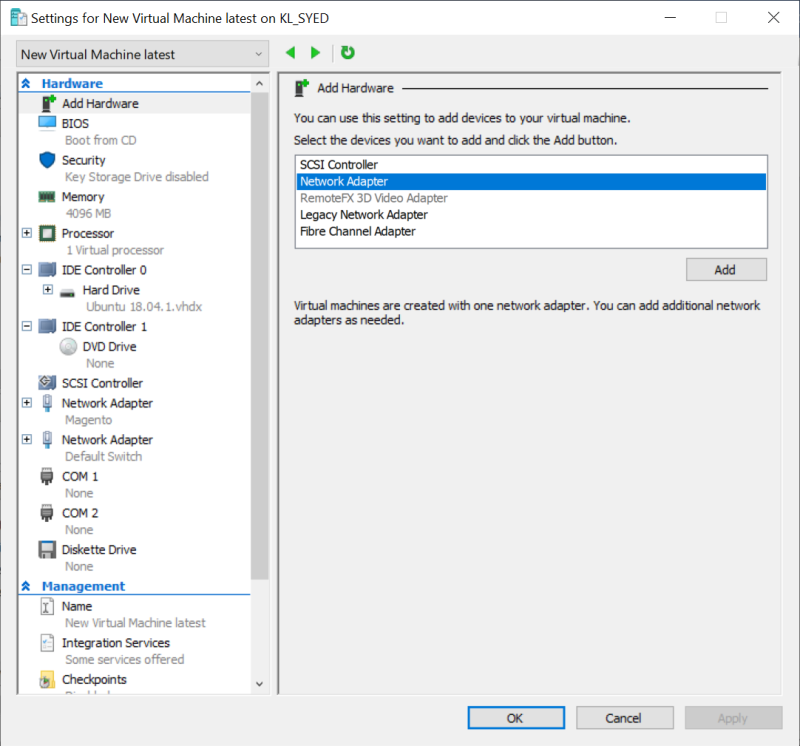
- For internet access, add a default switch in your VM:
-
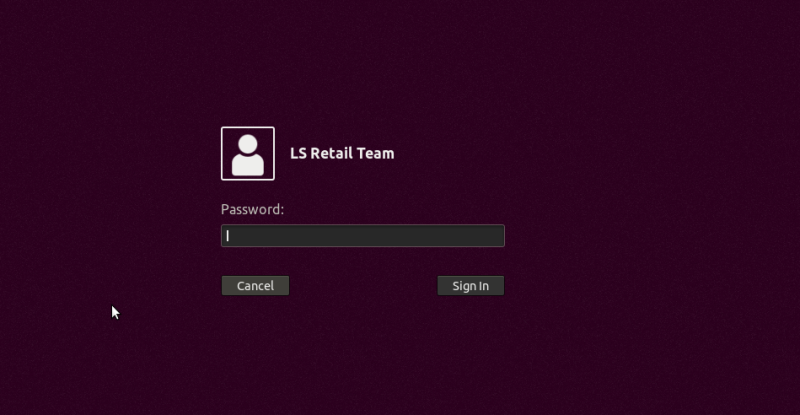
Enter the default Ubuntu login credentials, and log in to the system:
- User name: lsomni
- Password: admin0101
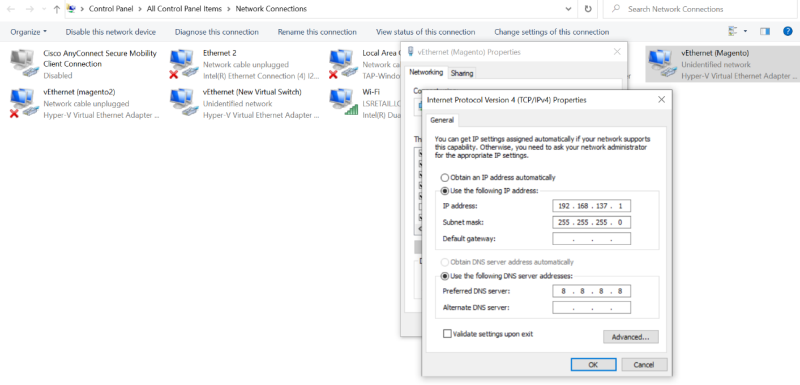
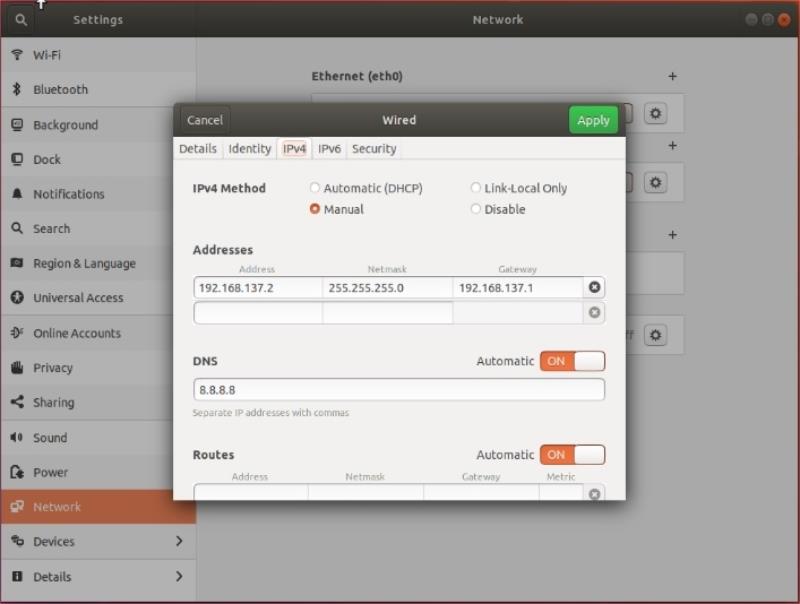
- Assign an IP address to your VM:
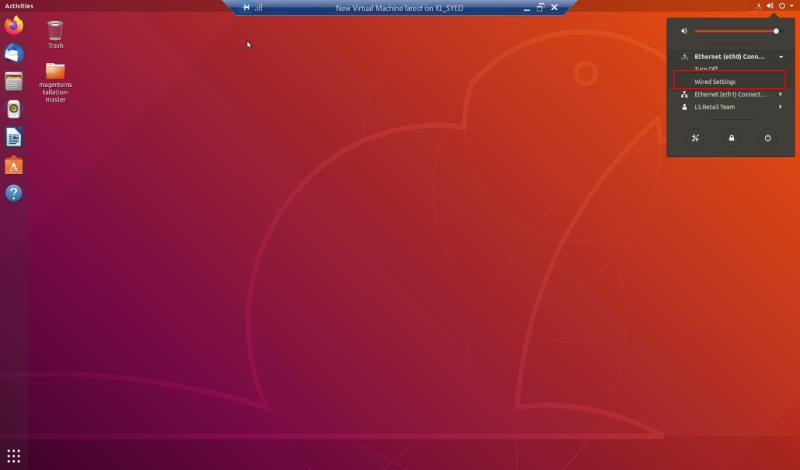
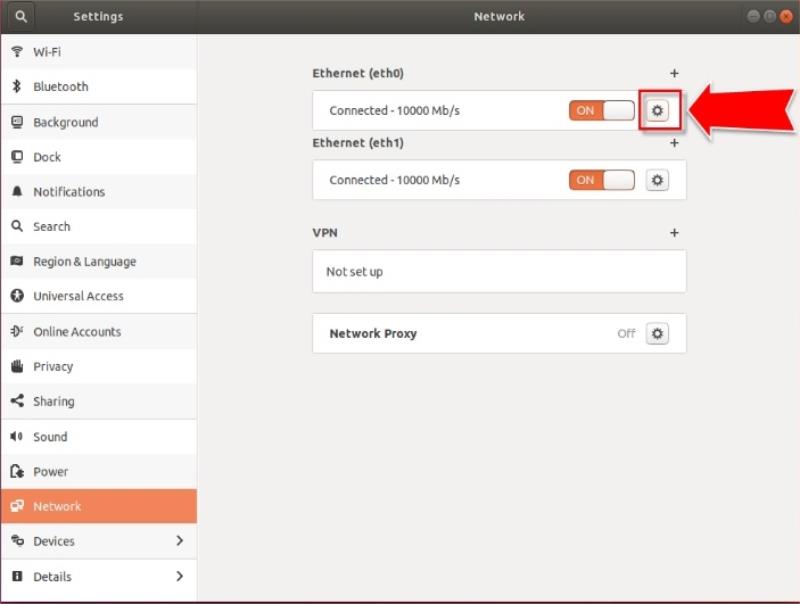
- Add the below IP address to your newly created switch:
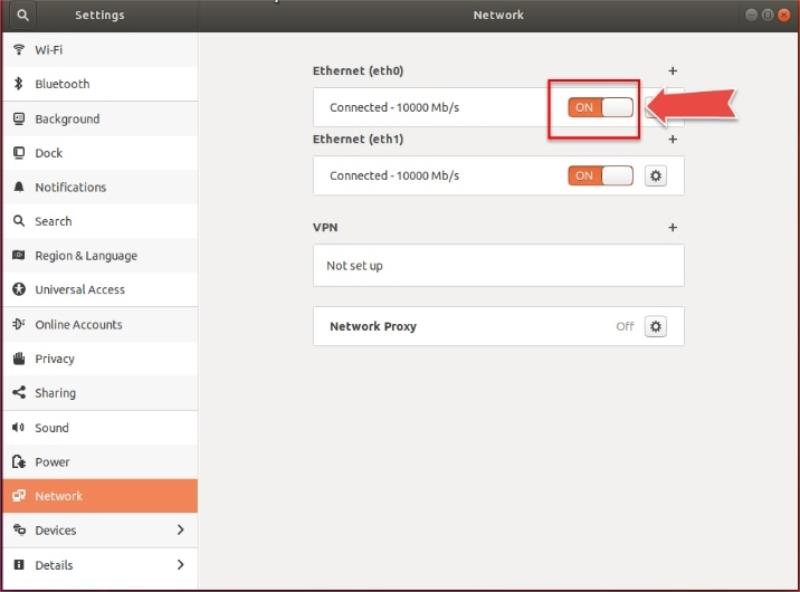
- Toggle the On/Off button to display the changes to the IP address:
-
You have completed the installation.
Tip: You can access Magento from the virtual machine by using these URLs in a browser:Frontend: http://192.168.137.2/
Backend/Admin Panel: http://192.168.137.2/admin
The default admin panel credentials to login to the admin panel:
- User name: Admin
- Password: admin0101
Note: http://192.168.137.2/ is the default IP setup for the virtual machine. If, for some reason, you do not want to use that IP address, go to How to: Change the IP Address of the Virtual Machine to learn how to change the IP address.