Note: You can skip this section and go directly to the Connection with LS Central article, if you do not want to change the virtual machine's default IP address (192.168.137.2).
The virtual machine is set up with a default IP address (192.168.137.2). If, for some reason, you do not want to use that IP address, this article will explain in detail how to assign a custom static IP to the virtual machine and to all areas where the default IP is being used.
Note: Before you start, make sure the new IP address is accessible through the network and not already assigned to any other machine on the network.
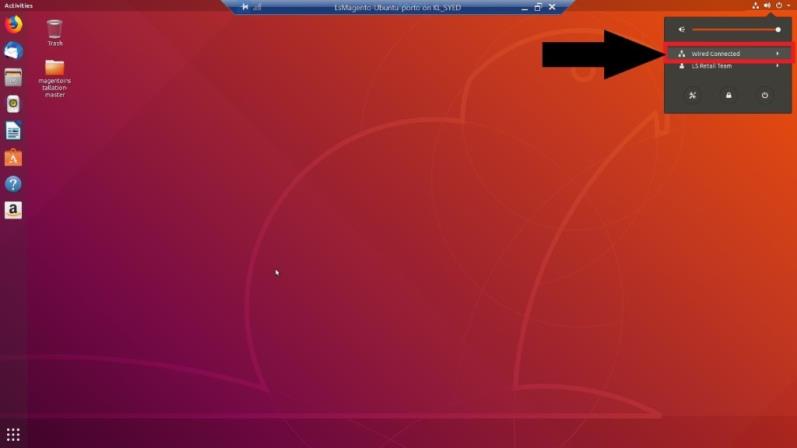
- From your Ubuntu VM, click the drop-down icon in the top-right corner of the display, and navigate to the wired setting:
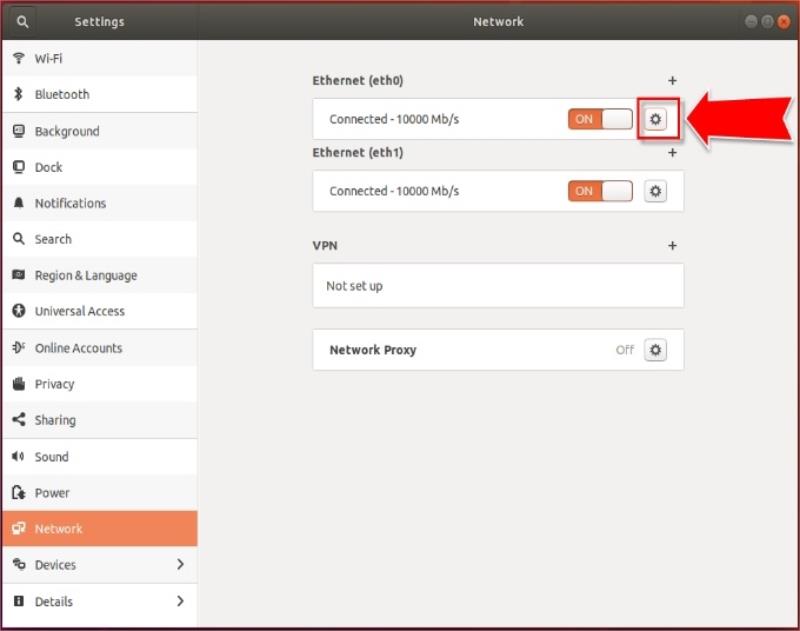
- Click the Settings icon in the wired section (in the Ethernet (eth 0) field):
- Navigate to the IPv4 tab, and select the Manual option in the IPv4 Method section:
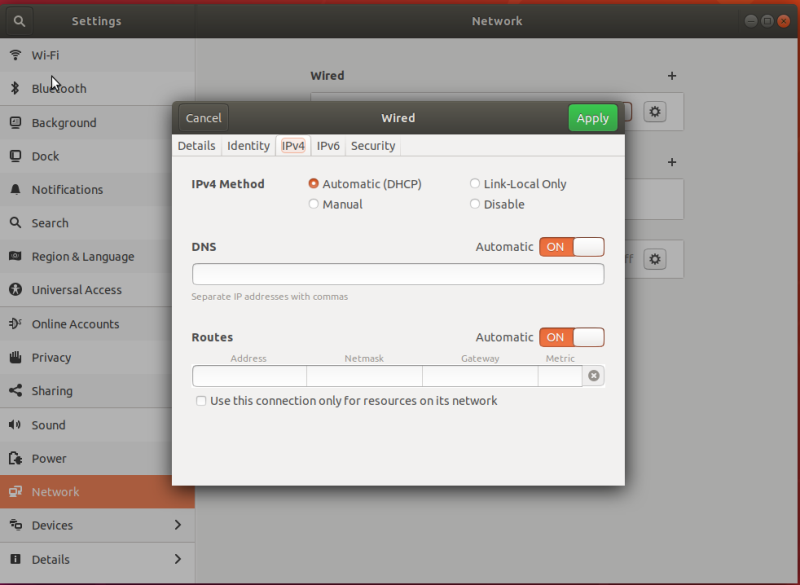
- Enter the new static IP address, subnet mask, DNS, and default gateway that you want to use, and click Apply.

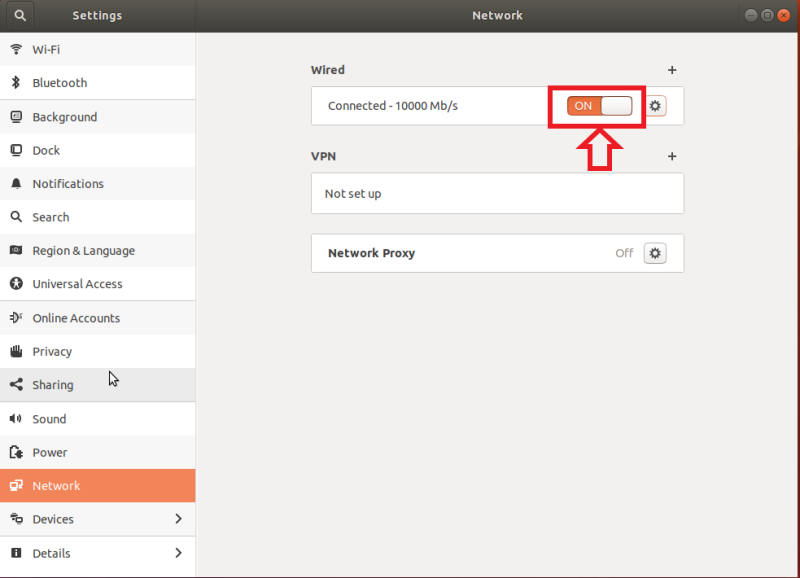
- Turn the wired setting OFF and then ON again to restart the network:
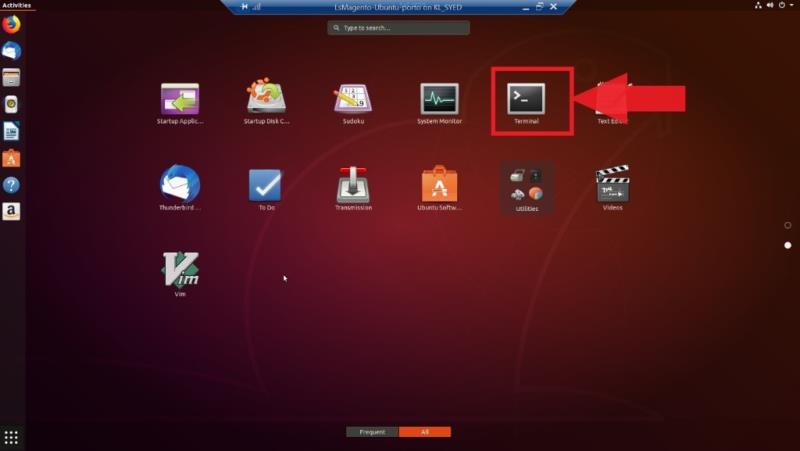
- Update the new IP address in the Magento database: open the terminal using the CTRL+ALT+T keyboard shortcut, or alternatively, open the terminal from the launch application section:
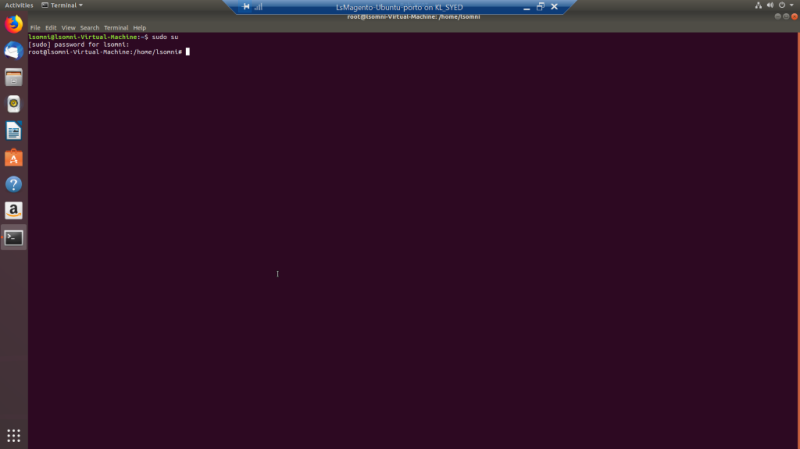
- Enter the sudo su command, and follow with the password admin0101 to run the terminal as administrator:
-
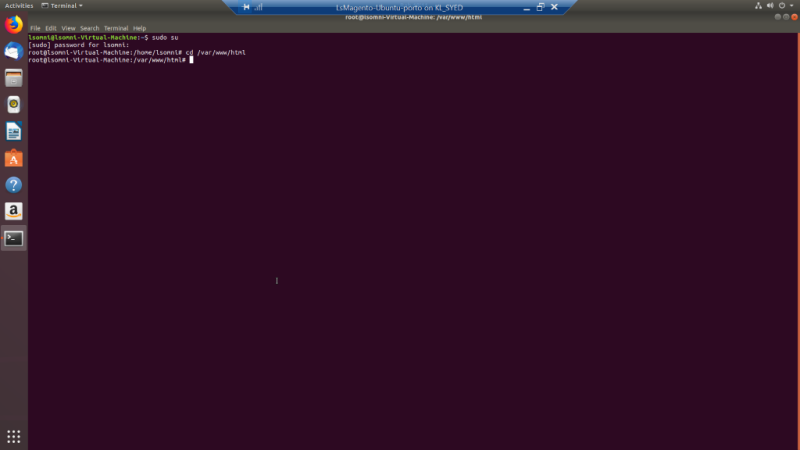
Enter cd /var/www/html to navigate to the root directory of the Magento installation:
- Update the new IP address in the Magento database by running these four commands replacing NEWIPADDRESS with your own:
- php bin/magento setup:store-config:set --base-url=<NEWIPADDRESS>
- php bin/magento setup:store-config:set --base-url-secure=http://NEWIPADDRESS/
- sudo chown -R lsomni:lsomni /var/www/html/*
- php bin/magento cache:flush
-
Update the new IP address in the nginx configuration: run the vim /etc/nginx/sites-available/magento command from the terminal to edit the virtual host file of the nginx configuration:
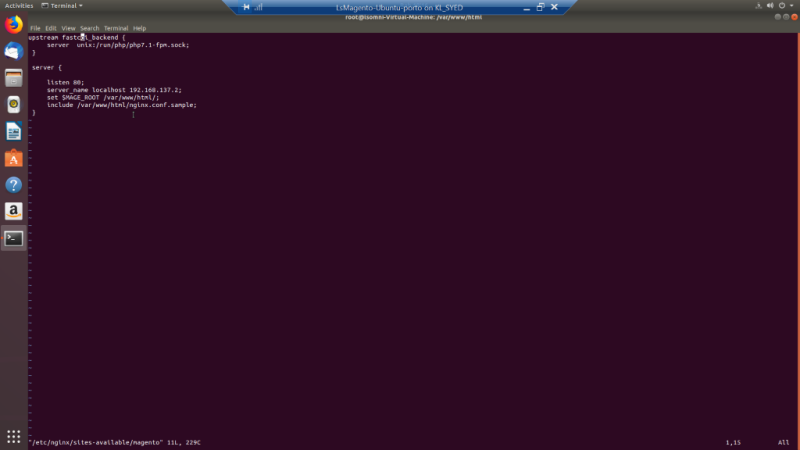
- Replace the default IP address 192.168.137.2 with the NEW IP <NEWIPAddress> on line server_name localhost 192.168.137.2, press ESC on the keyboard to save the file, and then type :wq! and press Enter.
- Restart the nginx Server and PHP FPM service to reflect these changes by running the below commands from the terminal:
- systemctl restart nginx.service
- systemctl restart php8.1-fpm.service
- Your new Static IP is now successfully updated in the virtual machine, the Magento database, and the nginx configuration.
Tip: You can verify this by navigating to http://NEWIPADDRESS/ from the browser.