In this article
Using the Offline POS installer
Using the Offline POS installer
- After downloading the installer, copy the installer to the POS and run it as Administrator on the POS.
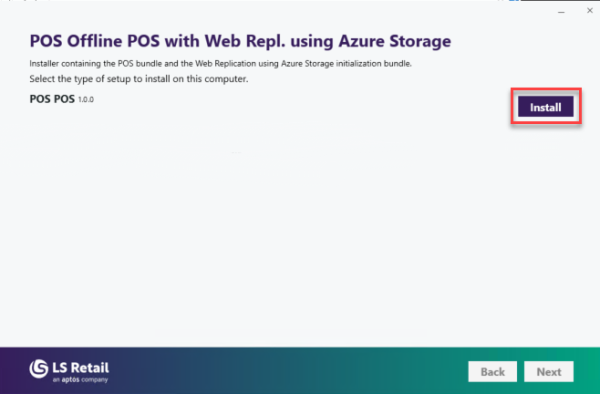
- Install the POS bundle:
- Select Optional Components:
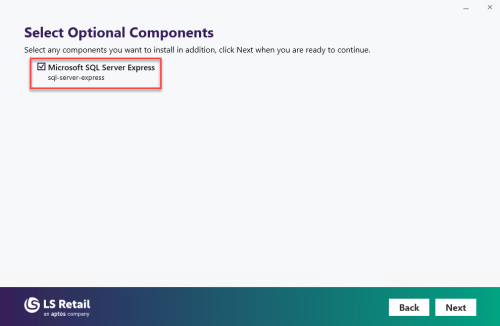
SQL Server Express is an optional component.
If the POS does not have any SQL Server instance installed, you can choose to install a SQL Server Express instance.
- Arguments
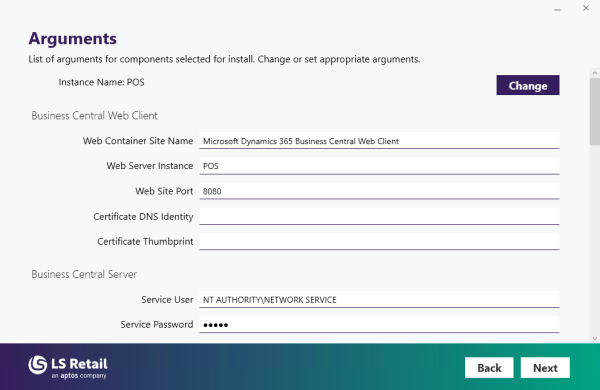
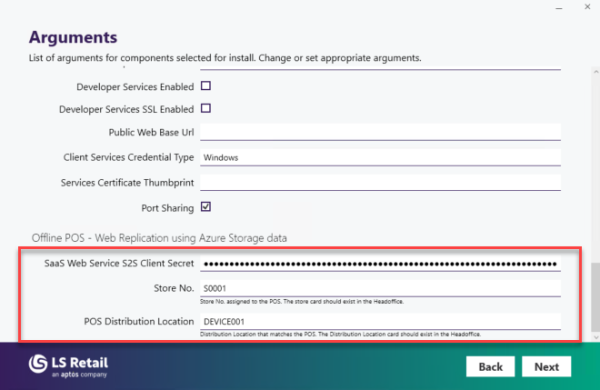
- The main parameters that need to be updated are:
- SaaS Web Service S2S Client Secret: The secret created for the App ID. See How to: Set Up an Entra ID App for instructions.
Note: This field is only visible if you did not fill in the Client Secret when you created the POS bundle in previous steps.
- Store No.: The Store No. this POS should be assigned to. The Store Card should exist in the Head Office.
- POS Distribution Location: The distribution location that matches the terminal. The Distribution Location Card must match an existing Distribution Location card in the Head Office.
- SaaS Web Service S2S Client Secret: The secret created for the App ID. See How to: Set Up an Entra ID App for instructions.
- After the POS installation is completed, close the installer.
- Click Next, and wait for the installation process to end.
Note: At this point, the minimal setup required for the Web Replication should be done. Refer to Setup on the Offline POS for the required setup on the POS.
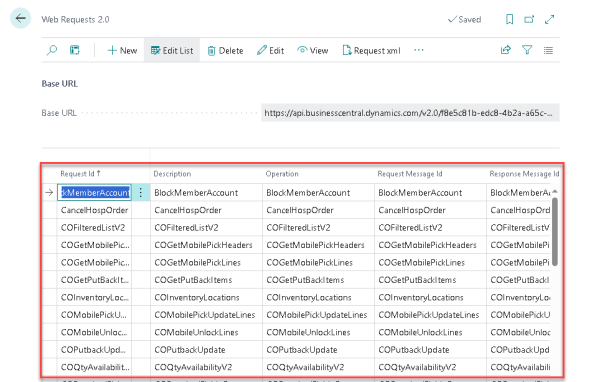
The manual step of subscribing to Web Services that used to be mandatory is now automatically triggered. To check follow these steps:
- Navigate to the Web Service Setup page in LS Central.
- Click Web Requests 2.0. These Web Requests should be listed:
Running a PowerShell script
As an alternative, you can also use a PowerShell script to install the bundles in the POS.
Note: Before running the script below, you must have the Update Service Client cmdlets installed in the POS, otherwise the PowerShell script will fail when importing the UpdateService module.
-
To download and install the Update Service Client from the self-hosted Update Service Server installed in Step 1, run the following script:
Copy#requires -RunAsAdministrator
<#
.SYNOPSIS
Install the POS bundles
#>
$ErrorActionPreference = 'stop'
$Url = 'http://<Update Service Server ip or hostname>:8060/api/v1/installers/00000000-0000-0000-0000-000000000000/download'
$OutputPath = (Join-Path ([IO.Path]::GetTempPath()) 'UpdateServiceClientInstall.exe')
Write-Host 'Downloading Update Service client...'
Invoke-WebRequest -Uri $Url -OutFile $OutputPath
Write-Host 'Installing Update Service client...'
& $OutputPath --Silent | Out-Null
$env:PSModulePath = [System.Environment]::GetEnvironmentVariable('PSModulePath', 'Machine')
Remove-Item $OutputPath -Force -ErrorAction SilentlyContinueNote: You need to replace the placeholder in the script with the correct protocol (http or https) and the correct IP address or host name, pointing to the Update Service Server.
The script makes use of the Update Service Server REST API to download and run the Update Service Client on the POS terminal. After this step, the Update Service Client PowerShell module will be installed and you can use the Import-Module UpdateService in the PowerShell script to import the modules. It might be required to reopen the PowerShell console for the installed modules to be loaded.
-
Next, run the following script to set up the Offline POS:
Copy#requires -RunAsAdministrator
<#
.SYNOPSIS
Install the POS bundles
#>
$ErrorActionPreference = 'stop'
Import-Module UpdateService
$InstanceName = 'POS'
$WsClientSecret = '<WS Client Secret>'
$PosDistributionLocation = '<POS Distribution Location code>'
$StoreNo = '<Store No. the POS should be assigned to>'
$Arguments = @{
'bc-server' = @{
AllowSessionCallSuspendWhenWriteTransactionStarted = 'true'
}
'ls-central-web-replication-azure-storage-data' = @{
WsClientSecret = $WsClientSecret
PosDistributionLocation = $PosDistributionLocation
StoreNo = $StoreNo
}
}
$Packages = @(
@{ Id = 'sql-server-express'; Version = '^-' }
@{ Id = "bundle/test-pos"; Version = '^-' }
)
Write-Host "Installing the following packages:"
$Packages | Get-UscUpdates -InstanceName $InstanceName | Format-Table -AutoSize | Out-String | Write-Host
$Packages | Install-UscPackage -Arguments $Arguments -InstanceName $InstanceName -UpdateInstance
Videos
Offline POS: Setting up an Offline POS (3/3)