In this article
Create a Customer Order for collecting in another store
Create a Customer Order for collecting in another store
- Add items to the sale, and press the Customer order mark button.
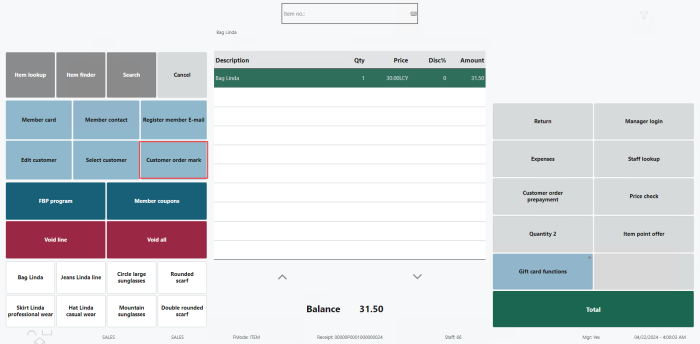
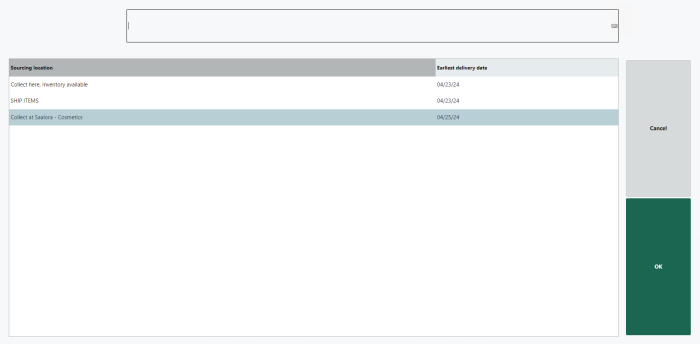
- Press Total. The Ship/Collect panel is displayed with all locations that can source all the items that were marked for customer order. If no location can source the entire order, the order cannot be created.
- Select the Collect at Saalora - Cosmetics option in the list, and then press OK. This takes you to the Customer Order Panel, where you can view details related to this customer order.
Provide the required information, such as Address, City, and Post code. At this stage, you can also modify the collect/ship location, input customer details, specify the requested delivery date, and review the items in the order.
You have the option to input the information manually or retrieve a customer's contact details using the Customer button.
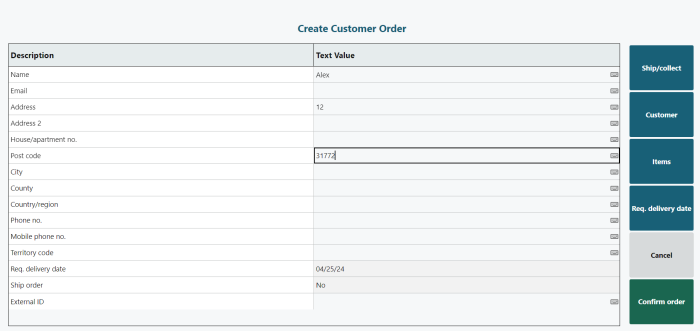
- Select Confirm order. The POS prompts the user to fully pay upfront for the ordered items, either immediately or at a later time.
- Select a payment method to complete the order and transaction.
- When the order is completed, a Retail Message appears at the location you selected in the Collect panel, notifying that an order needs to be picked.
Backoffice
- Click the
 icon, enter Customer Order and select the relevant link.
 - In the other store, the staff processes the picking for the incoming Customer Order. The customer order is created in the back office. The shipping Status is To Pick from the selected store.
Pick/Collect order in POS
- Open the Retail User page, and select the sourcing location where you should pick the order.
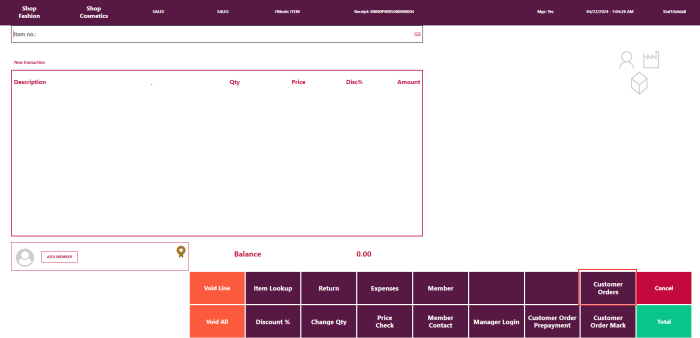
- In POS, press the Customer Orders button to display the order list. The list panel opens in a To Pick state.
- Select an order for picking, and then press the Pick button.
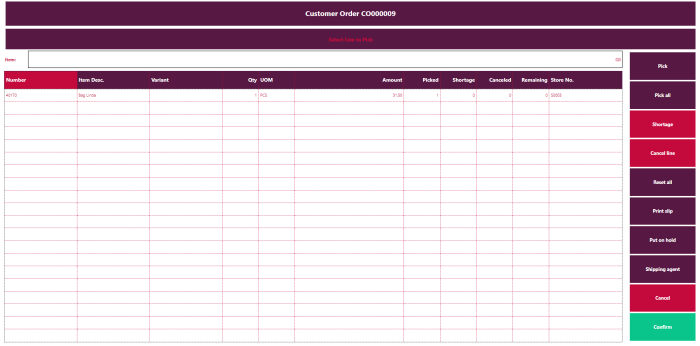
- Mark the items that are being picked using Pick or Pick all, or scan the items using a barcode scanner.
- Press Confirm to complete the picking.
- At this point, for a collection order, the items will appear in the Customer Order Panel under the To Collect filter, where it stays until the customer comes to collect. Provided there is contact information on the order, a message notifies the customer of the new status of the order.
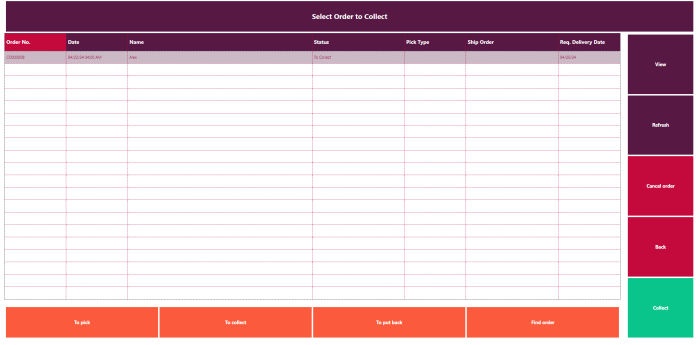
- On the POS, press the Customer orders button to display the order list.
- Press the To Collect button to only display orders with items in a To Collect state.
- Select the order to be collected, and then press the Collect button.
- Mark the items that are being collected by using Collect or Collect all, or scan the items using a barcode scanner.
- Press Confirm to complete the collection.
- If the Use Shelf Position check box on the Store Card is selected, you are asked to enter information about where the order will be stored.
- At this point, the POS returns to the journal to complete the order transaction.
- If you are collecting the last remaining items from an order, a calculation is made to find out if the customer has made payments exceeding the item value, or if you were not able to deliver all the items from the order. In that case a refund amount is calculated.