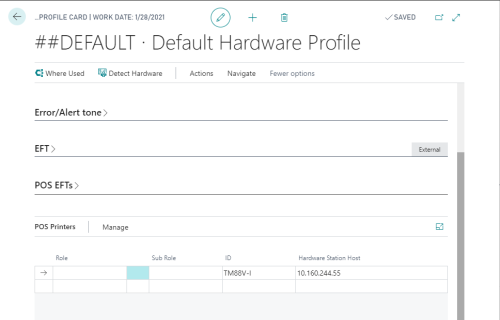
The LS Central POS supports using EPSON intelligent printers through the ePOS-Print API and ePOS Device technologies. To use a TM-Intelligent printer do the following:
- Get the IP address of the printer by connecting it to your network and turning it on (DHCP).
- Open the POS Printer List in LS Central, and add a new printer.
- Enter an ID for the printer (for example TM88V-I).
- Select the ePOS-Printer option in the Printer field.
- Enter local_printer in the Printer Device Name field.
- Enter the IP address of the printer in the Print Server Host field:

- In your active Hardware Profile, select the POS Printer option in the Printer field, and in the POS Printers list (at the bottom of the page) add the printer you created to the list of printers for this hardware profile.
Note: If you leave the Role and Sub-Role fields blank, the added printer will be used for all printing on the POS.
The Web POS also supports using drawers and scanners through the EPSON intelligent printer. The setup for drawer and scanner is the same as for the printer. You first add the device specifying the Device Name (might be local_scanner and local_drawer), and enter the IP-address in the Server Host field for the device. Barcode setup is done in the POS Terminal card. The width can be between 2-6 and the height between 1-255.
Note: You must connect and configure the scanner and drawer to the EPSON intelligent printer using their instructions. Basically, this is done by connecting to the printer (IP-address/webconfig) in a browser. Log in and use the printer admin page to add and configure the drawer and scanner.