To create the URI for the LS Central Web Service, open LS Central BackOffice. Click the ![]() icon,to look for relevant links to pages.
icon,to look for relevant links to pages.
- Click the
 icon, enter Web Service Setup, and select the relevant link.
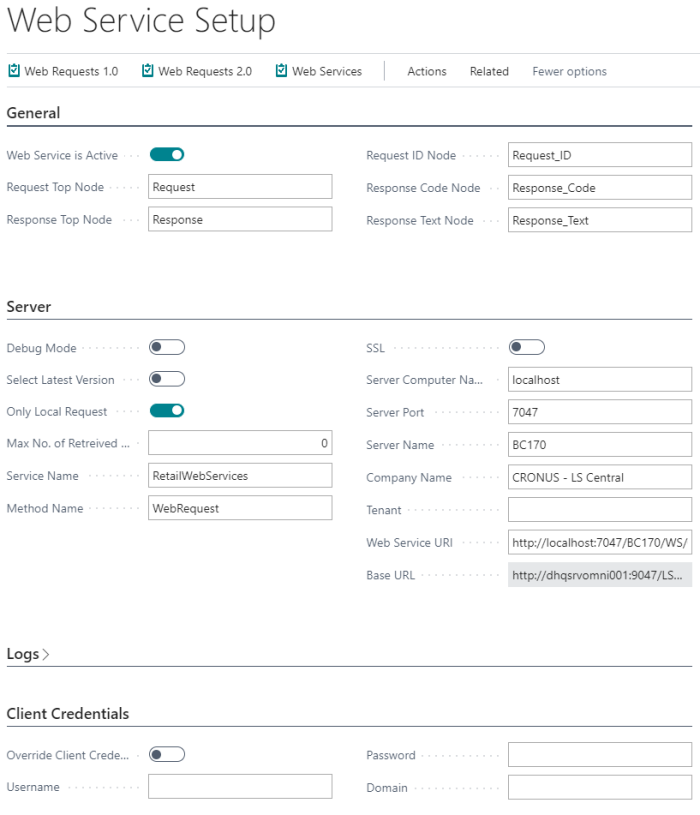
- On the General FastTab, activate the Web Service is Active field.
- On the Server FastTab, appropriately fill in the following fields for the setup of LS Central:
- Server Computer Name
- Server Port
- Server Name
- Company Name
- This will generate your Web Service URI value, copy it and save it.
- On the Client Credentials FastTab, add login credentials for the Web Service.
- For On-Prem, use Basic mode with Central user and Web Key.
- For SaaS, use S2S mode with Client ID and Client Secret.
Tip:You can test the LS Central Web Service by clicking Actions - Functions - Test Web Connection. This can only be done after Publish and Subscribe Web Requests v2.
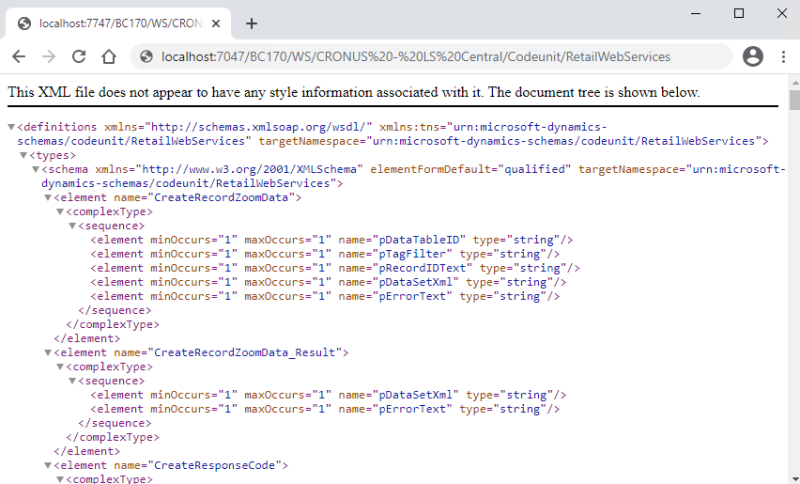
Tip: You can also test the service by copying the Web Service URL and pasting it into a web browser:
http://localhost:7047/BC190/WS/CRONUS - LS Central/Codeunit/RetailWebServices
You must publish Web Services version 2:
- Open the Web Request 2.0 page.
- Check if the Base URL points to correct URL. This should be correct after setting up the Web Service part earlier.
- To publish the Web Services, click Publisher in the toolbar (if not visible, click the three dots first), and when done click Publish LS Commerce Web Service or Publish Omni Wrapper (older Central) in the toolbar.
Commerce Service uses a few codeunits to communicate with LS Central.
- Open Web Services and check that those three codeunits have been published correctly with the correct name:

To test if those codeunits are active, click in the SOAP URL field and you should get similar result like in the previous test above.