In this article
To activate all three collections
Create Collections, with one option
eCommerce - Shopify provides a feature to create collections based on Special groups, Product groups, and Item categories.
This feature lets you:
- Generate collections based on Special Groups, Product Groups, and Item Categories, allowing for organized and targeted product groupings.
- Add or remove items from collections as needed, keeping product selections up-to-date for promotions or seasonal changes.
- Change the location of items within collections to prioritize visibility or improve customer navigation.
The following example illustrates the functionality of collections by enabling all three types of collections that are available in the Collections FastTab.
To activate all three collections
-
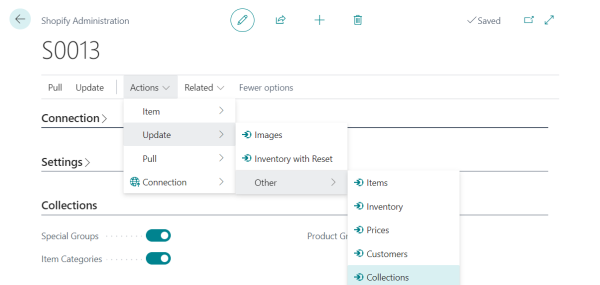
Go to the Shopify Administration page, and click Actions - Update - Other - Create Collections to create a collection on the Shopify page.
- Go to the Shopify page, and navigate to Products - Collections. The Collections page now looks as the image below after the page has been updated from LS Central.
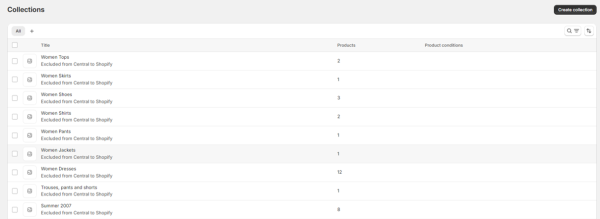
Create Collections, with one option
- Go to the Shopify Administration page, and activate the Item Categories check box.
- Click Actions - Update - Other - Collections to create a collection on the Shopify page.
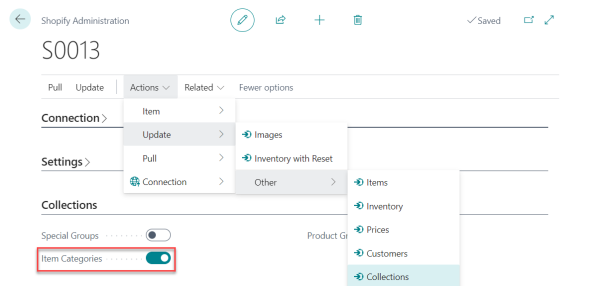
- Click Related - Mapping Data - Collections to view the map groups of the Shopify Collection for Item Category Collection.

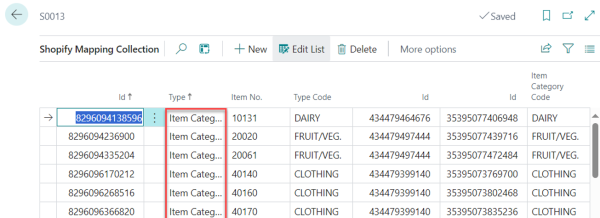
- Go to the Shopify page, and navigate to Products - Collections. You are redirected to the Collections page where you see the collection for collection type Item Category:

With one option, remove item
- Go to Related - Item Data to view the mapping for Item Data, and delete one item, “10131- Blue Cheese” from the list.

- Then, go to the Shopify Administration page, and click Actions - Update - Other - Create Collections to create the Collection again.
- Go to the Shopify page, and navigate to Products - Collections. The page appears like in the images below, and show the difference between before and after deleting item “10131-Cheese”.
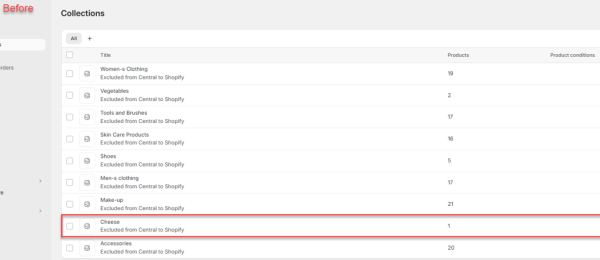
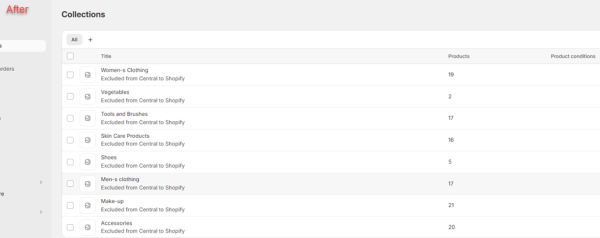
With one option, add item
- In the Shopify Administration page, click Actions - Item - Send Item to add one item to the Shopify page.
- Add an item, “10050-Gouda Cheese”, and make sure to enable the Send Prices and Images check boxes.
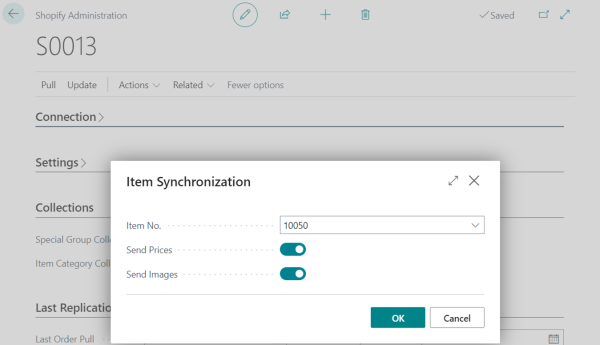
- Click Actions - Update - Other - Items to update the item that you just created.
- Click Actions - Update - Other - Create Collections to create a collection again.
- Navigate to the Shopify page, where you see an updated quantity in the Dairy Products category, reflecting the addition of item—Gouda Cheese, the item you just added.


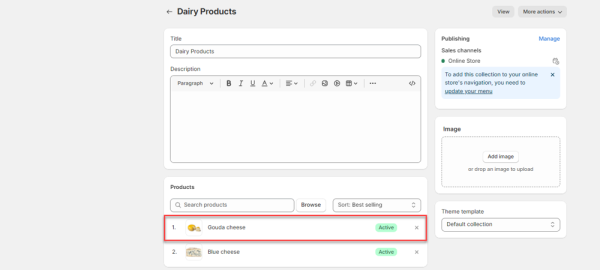
Change location of Item
- In the Shopify Administration page, click Actions - Update - Other - Items to update the item whose location you changed just now.
- Click Actions - Update - Other - Create Collections to create collections again.
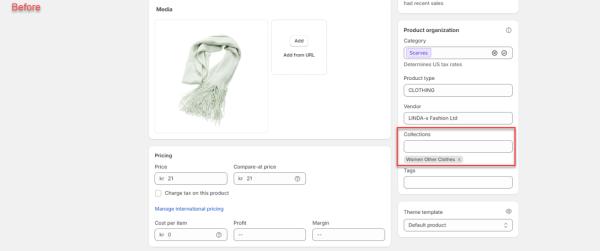
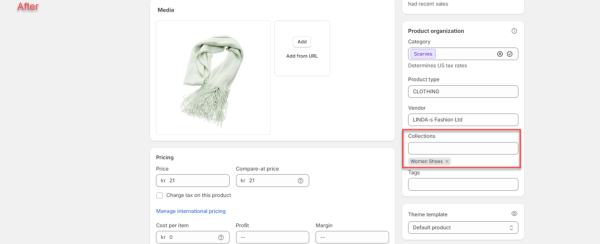
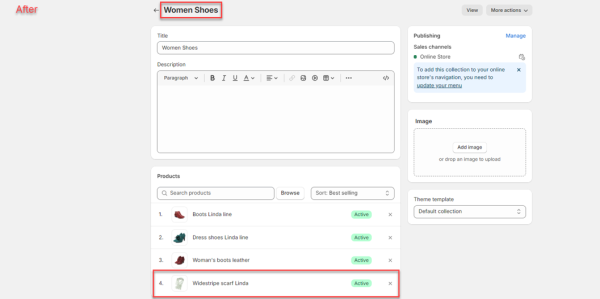
- Navigate to the Shopify page, where you see the change in the location of the item "40150-Widestripe Scarf Linda." The item has moved from "Women Other Clothes" to "Women Shoes," indicating a successful synchronization process.
