In this article
Cashback (over/under-tendering)
In the Sale screen, you can either pick items from the PLU screen or use a barcode scanner to pick items.
Using the PLU menu
- In the Sale screen, tap the PLU menu icon located in the header bar.
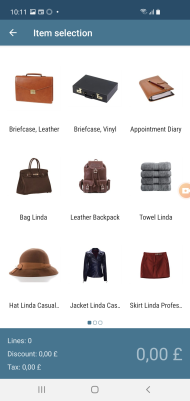
- In Item selection, tap items to select, and they are automatically added to the transaction.
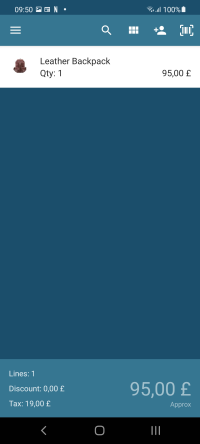
- When you are done adding items to the transaction, tap the total in the bar at the bottom of the screen.
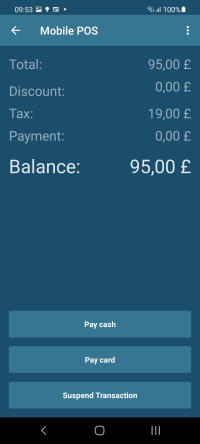
- The Payment screen appears, showing the Total amount of the purchase, the Discount, if that option is used, the Tax amount, and finally the Balance.
- Here you have payment options: pay cash, by card, or suspend the transaction and retrieve it later.
Tip: You can split the payment and pay partially with card and cash.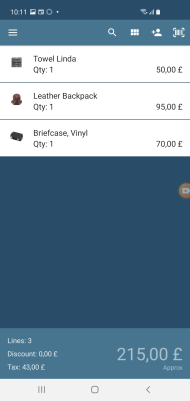
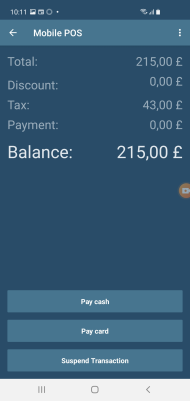
- If you select the Pay card option, a simple procedure starts and payment is done by card. Seller's copy of the receipt is displayed, and the app offers to print a customer copy on a printer and in an email.
The PLU screen displays the most frequently bought items as images:
If you select the Suspend Transaction option, the payment is suspended but can be retrieved. This might happen, for example, if a customer is buying a washing machine and the sale has been entered on the Mobile POS in the store, but then the customer wants to buy something else in another department. In that case, you select Suspend Transaction and the sale is later retrieved and added in the other department, if the customer buys something there. This functionality is explained in more detail below.
Using the barcode scanner
- Tap the barcode icon located in the header bar. This turns on the mobile phone camera, and a red line is displayed on the screen.
- Make sure that the red line overlaps the barcode, and wait until the phone is able to detect the barcode.
- Scan the item's barcode, and the app provides the proper response:
- in case the item is found, it is automatically added to the transaction.
- if the item is not found, an Item not found message is displayed on the screen.
To add total discount
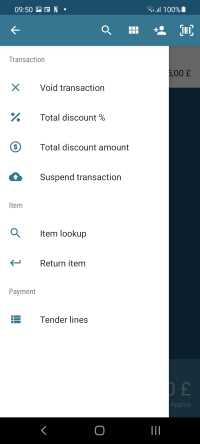
- In the PLU screen, tap the hamburger icon located in the header bar, or slide the left edge to the right to display a side view.
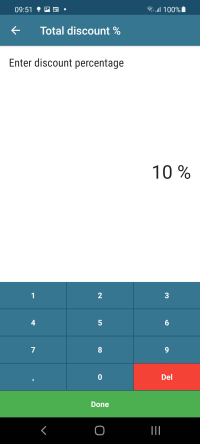
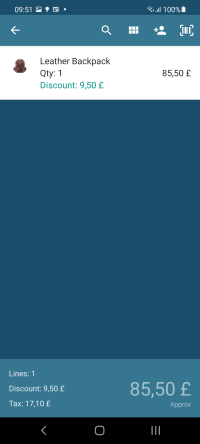
- Select either Total discount % or Total discount amount, and enter the discount.
To add line discount
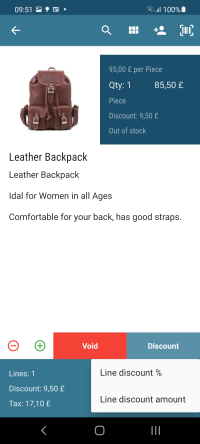
- Tap an item in the transaction to display the Item details screen.
- Tap Discount, and select one of the available options for line discount: percentage or amount.
- If you choose the percentage option, a percent discount is applied to the item's price.
- If you select the amount option, the amount that you enter is used as a discount for the selected item.
Note: You can only apply one type of line discount, percentage or amount.
Tip: In case you want to remove the discount, just select the discount type again, percentage or amount, and type 0.
To return an item
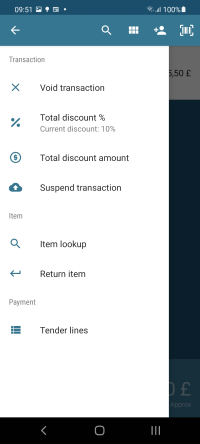
- In the Transaction screen, tap the hamburger icon located in the header bar, or slide the left edge to the right to display a side view.
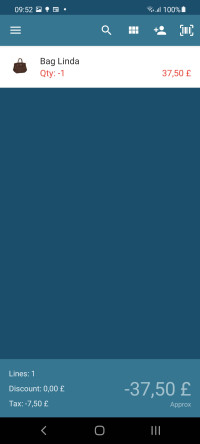
- Select Return item. This puts the app in "return mode". Any item that is added to the transaction at this moment is added as a return item, with a negative quantity.
To override the price
- In the Transaction screen, tap the item whose price you want to override.
- The Item detail screen appears.
- Tap the item price in the detail section in the top right corner. The Override price screen appears where you enter the new price.
Cashback (over/under-tendering)
Over- and under-tendering is possible, but it must be defined in the Tender Type setup for the store in LS Central whether it should be allowed or not.
To void tender lines
- In the Payment screen, tap the three-dots icon in the upper right corner.
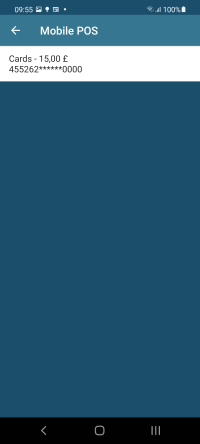
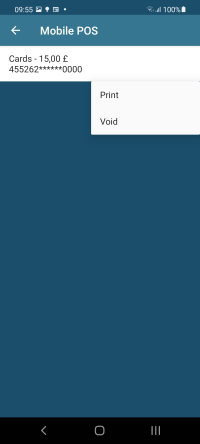
- Select Tender lines, and you will now see all available tender lines.
- To void a line, tap the line. A pop-up window appears where you confirm or decline.
