In this article
To set up OPOS external printers on the Mobile POS app
To set up OPOS external printers for Mobile POS in LS Central
Note: Before you start the setup process, you must make sure that the computer connected to the OPOS printer has the Printing Station Monitor service installed and running.
The Printing Station Monitor (which is an external print service) is used by the Mobile POS to reserve and claim printers. As the LS Central stationary POS does not use this external print service, the same printer cannot be used for both Mobile and stationary POS at the same time.
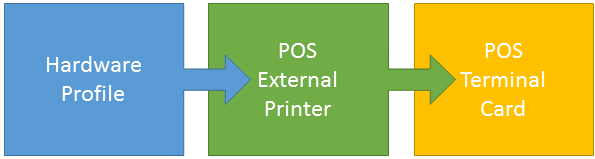
Setting up an OPOS (external) printer for the Mobile POS in LS Central is a process in three steps:
-
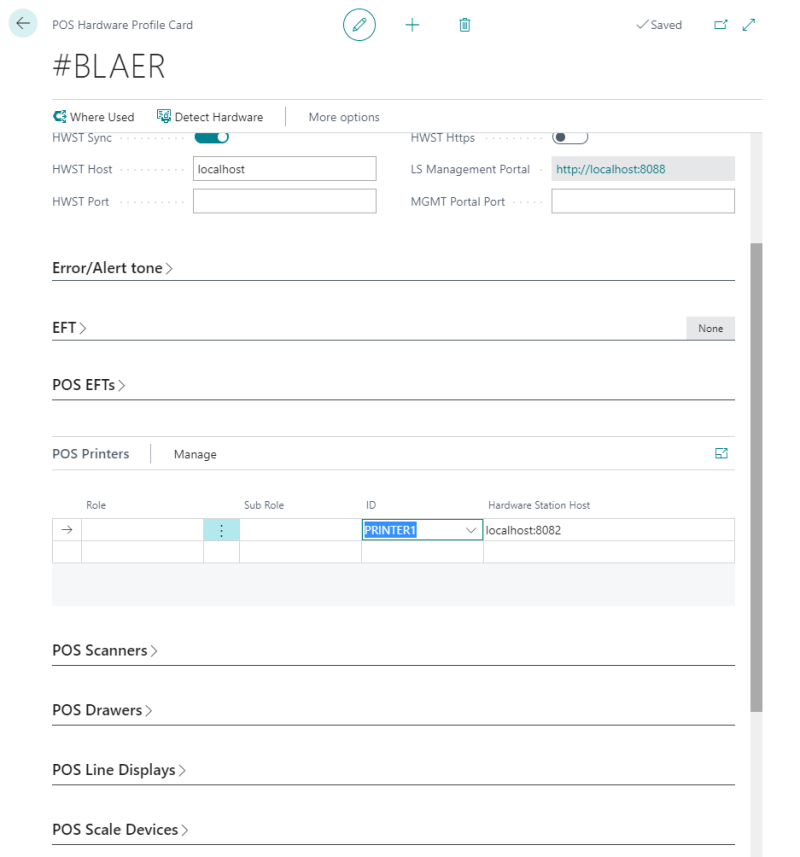
First, you must create a new Hardware Profile for the OPOS printer the Mobile POS is going to print to. The profile should be marked as Printer Remote and the Printer Server Host should have the IP address of the machine running the Printing Station Monitor and the OPOS Printer.
-
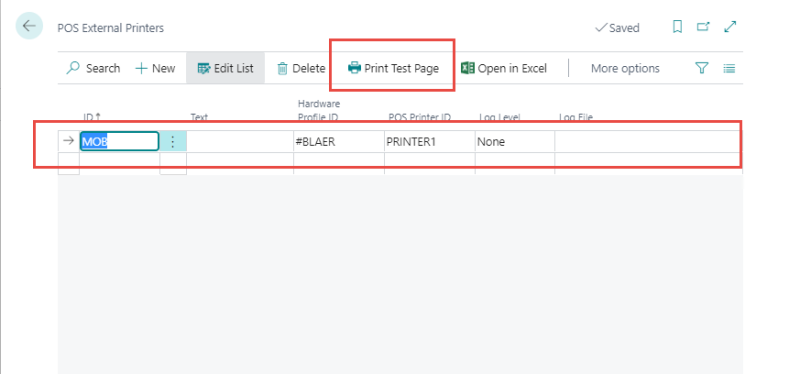
Then, you create a new POS External Printer (click the
 icon, enter POS External Printers, and select the relevant link.) Here you link the Hardware Profile yo created in Step 1.
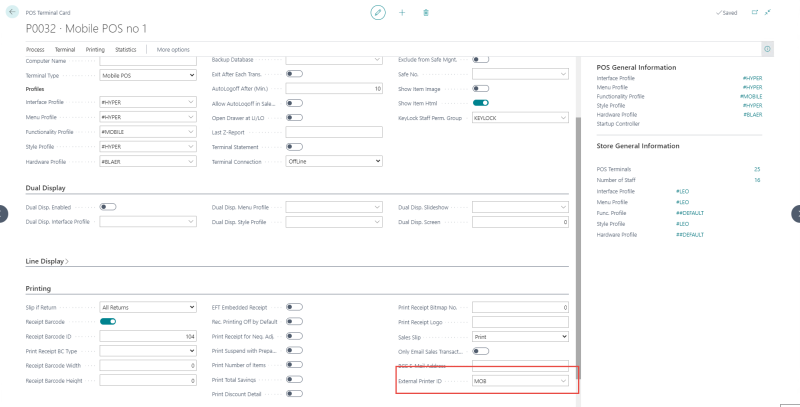
 - Finally, you open the POS Terminal Card for the Mobile POS, and on the Printing FastTab, you add the newly created POS External Printer ID.
These steps are described in detail below.
To set up OPOS external printers on the Mobile POS app
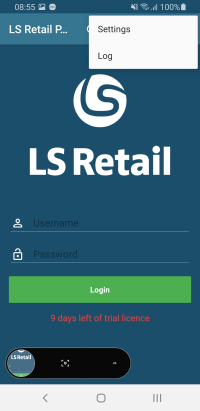
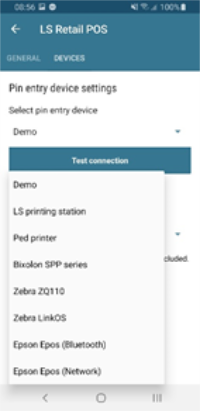
- Open the Mobile POS app, navigate to Settings, and select LS printing station:
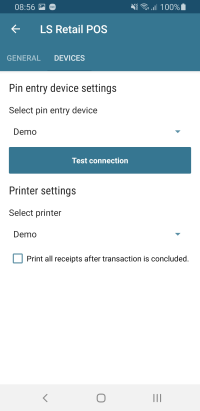
- The app is now ready, and the next step is to set up in LS Central.
To set up OPOS external printers for Mobile POS in LS Central
- Open the POS Hardware Profile Card, or create a new profile for a POS printer:
- Open the POS External Printers page, and connect the Hardware Profile (for example #BLAER) that you set up in Step 1:
- Assign the external POS printer to the Mobile POS:
Open the POS Terminal Card, and on the Printing FastTab assign the printer in the External Printer ID field:
- Now everything is connected, and you can print from the mobile device.
See also