- In LS Central, click the
 icon, enter Store Inventory Worksheet Type, and select the relevant link.
 - Select a worksheet type by clicking the arrow in the Type field.
- Select the Image Import Allowed check box for the worksheets that should allow the uploading of images.
- Back in the Mobile Inventory app, all you need to do is replicate the data again.
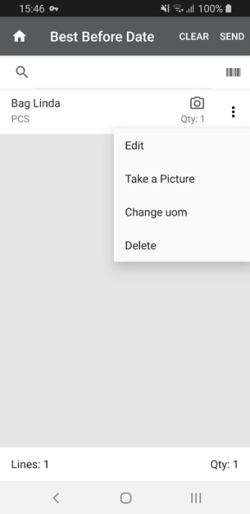
- You will now see the Take a Picture option on the worksheet you selected in step 3.
Example:
If you select the Negative Adjustment worksheet type in step 2, then sign in to the Mobile Inventory App and go to Stock Management -> Negative Adjustment -> Best Before Date (or any other), then select an item and tap the three dots to the right, the Take a Picture option is displayed: