In this article
Example 1 - Stock counting and posting an adjustment
Example 2- Stock counting and cycle count
Example 3 - Retail receiving in Mobile Inventory
Example 4 - Retail Picking List in Mobile Inventory
Example 1 - Stock counting and posting an adjustment
In this example items in a grocery supermarket, bottles of water for example, are displayed in several locations across the shop floor. When you are doing a stock count in this situation, it can be confusing to keep track of which groups you have covered or not.
Here the concept of area can help. Using this concept means that the user can break the entire shop floor into areas, name them and assign them to different staff members, thus avoiding duplication.
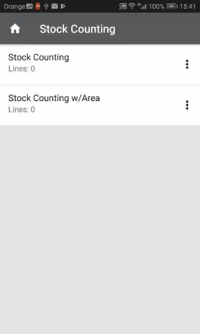
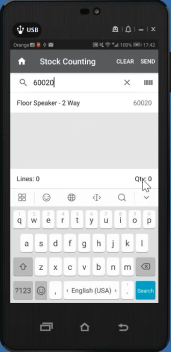
- In the app, tap the Stock Counting line, and scan or enter an item number, for example item 60020.
- Tap the item line, enter the counted quantity of 200 , and tap Send:
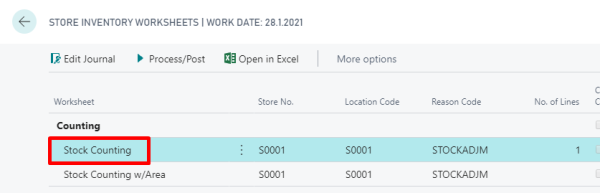
- In BackOffice, navigate to the Store Inventory Worksheets page.
- Select your worksheet, and click the Edit Journal action to open:
-
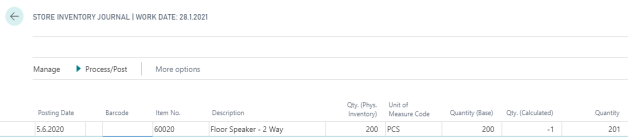
The Qty. Calculated and Qty. (Physical Inventory) fields are already populated. If you want an adjustment, you can edit the Qty. (Physical Inventory) field and then click the Proceed /Post action.
-
This message confirms a successful posting:
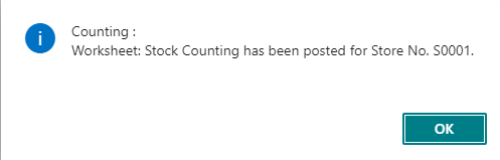
-
Once the journal is posted, you can check the Item Ledger entries to see if the adjustment came through. Filter by date, and you can see your adjustment.
Example 2- Stock counting and cycle count
This example demonstrates how to perform a daily stocktaking using the Cycle Count functionality. This can be done from the BackOffice or by having ground staff stock-take with the Mobile Inventory app.
In this example the BackOffice approach is used instead of the Mobile Inventory app. The process in the Mobile Inventory app is similar to Example 1.
-
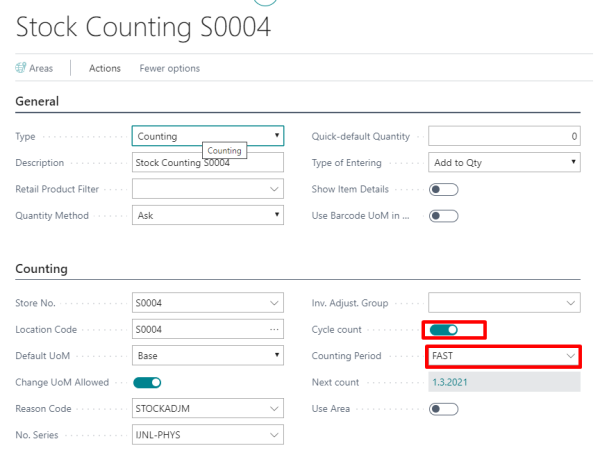
Open your Store Inventory Worksheet, make sure the Cycle Count check box is selected, and select a code in the Counting Period field.
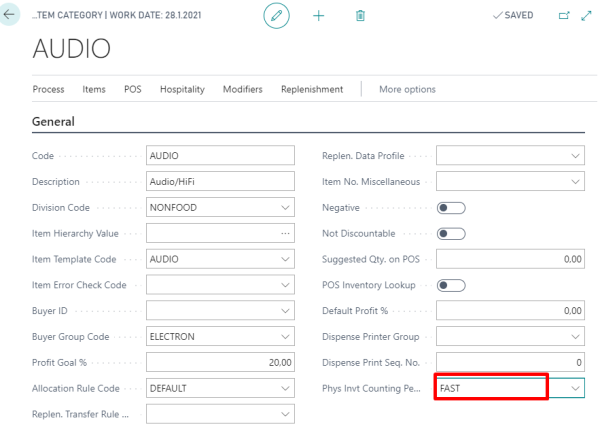
- Make sure your items are using the same counting code as specified in the Item Card's Counting FastTab. Alternatively, or rather more commonly, this can be configured on Item Category level:
- When setup is completed, open the Store Inventory Worksheets page.
-
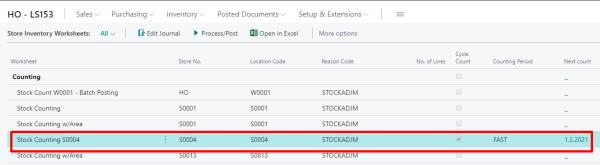
Drill down to Stock Counting, and select the counting sheet that is ready for the cycle count.
Note: When the worksheet is ready for its cycle count, it is highlighted in red color and the date for the next count is shown.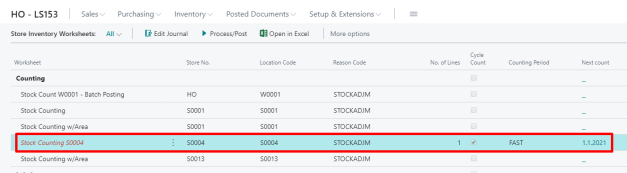
- Click the Edit Journal action just as you did in the previous example. In this worksheet, however, you want load only the cycle count items for stocktaking.
-
When the worksheet opens, click Actions - Get Cycle Count Item:
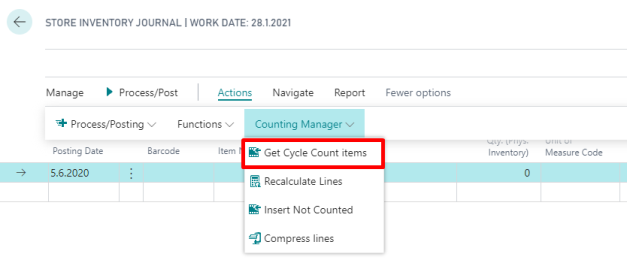
- A new view is displayed with a list of items that have been set up for a Cycle Count:
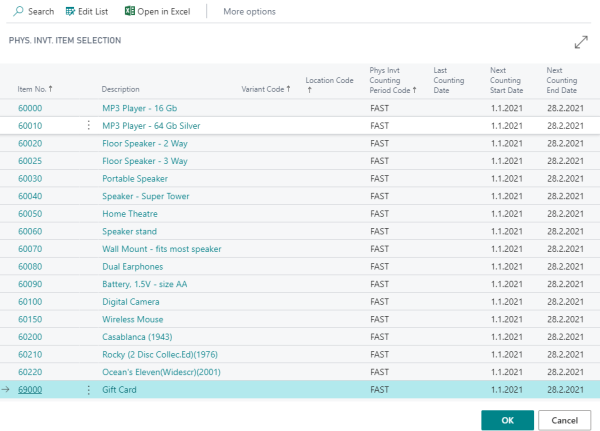
In this view, you can see the Last Counting Date, Next Counting Start Date, and Next Counting End Date.
- Process the worksheet the same way you did in Example 1.
- Navigate out of the worksheet, and observe that the worksheet is no longer highlighted in red color and the Next Count date is updated.
Example 3 - Retail receiving in Mobile Inventory
From the LS Central 15.2 W1 version onwards, Retail Receiving document has been automated.
After a Retail Purchase Order has been created, the Retail Receiving document will be automatically created from the action in the Mobile Inventory app.
-
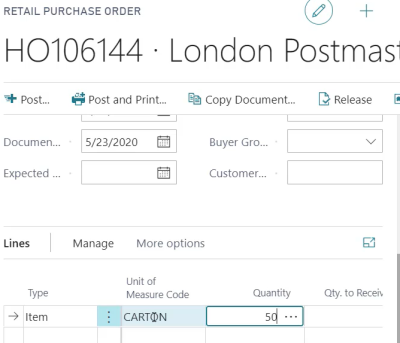
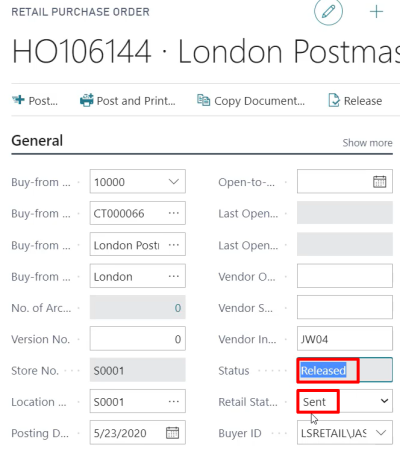
Create and release a Retail Purchase Order.
-
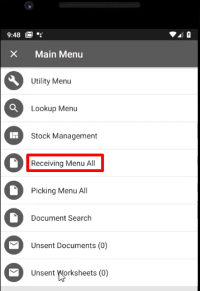
Login to the Mobile Inventory app, and navigate to Receiving Menu All in the Main Menu:
-
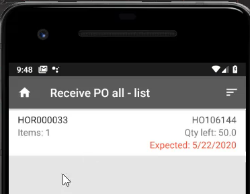
Go to Receive PO and the created Retail Receivingi in the list:
-
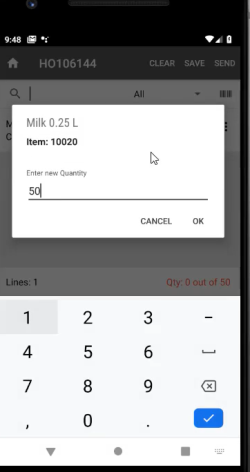
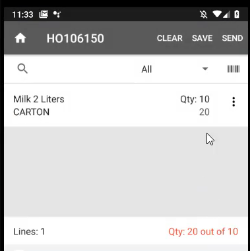
Insert the item quantity that was received, and tap Send:
-
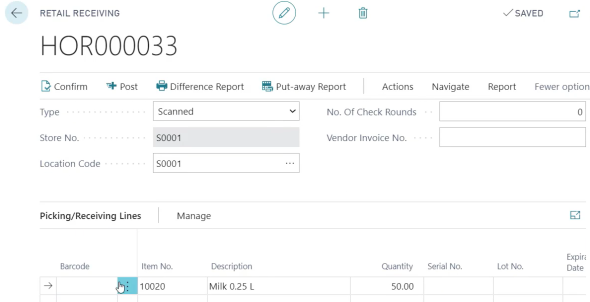
The Retail Receiving has been auto-created and the line has been updated, including the quantity:
- Click the Confirm action, and then Post.
- You can verify the posted document in BackOffice.
Example 4 - Retail Picking List in Mobile Inventory
This example show how to perform a Purchase Return Order. After the Purchase Return Order document has been created and released, you must pick the items from the vendor.
-
Create a Retail Receiving that is over the receive quantity, and tap Send.
-
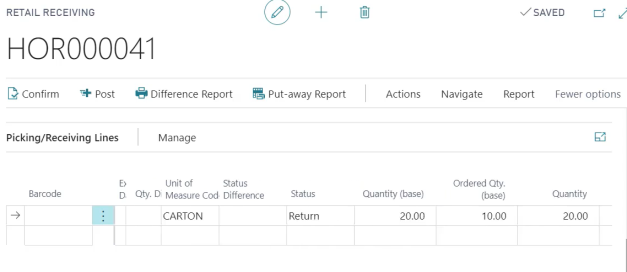
You can see the updated Retail Receiving. The Posting Action is this case will be Return.
- A Retail Purchase Return Order has been automatically created.
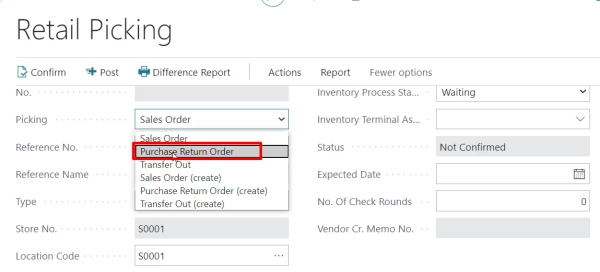
- After releasing the Retail Purchase Return Order, go to the Retail Picking list.
- In the Picking field, select the Purchase Return Order , and select the correct Reference No:
-
Go to the Picking Menu , and select Picking PRO:
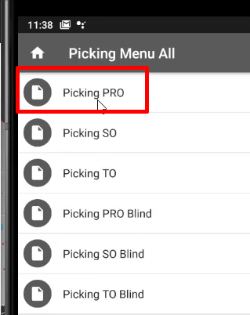
-
Insert the correct quantity, and tap Send.
-
Back in the Retail Picking list, make sure the line has been updated correctly:
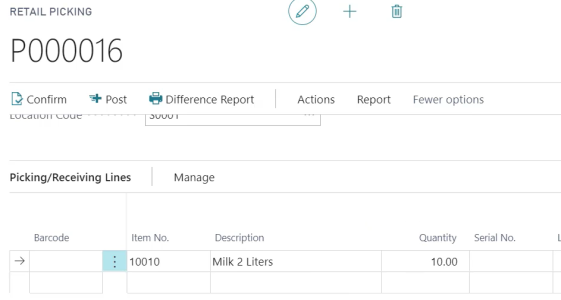
- Complete the Retail Picking List and post it.
- The Retail Purchase Return Order and Retail Picking List have been automatically removed after the transaction completed.
- You can verify this in Posted Purchase Credit Memo in LS Central.
See also