This article describes the process in the Mobile Inventory app that picks up customer orders.
The LS Central image shows three customer orders:

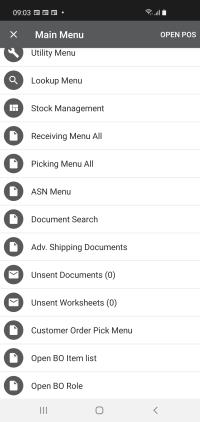
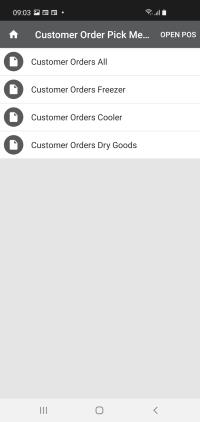
You can view the customer orders in the Inventory app by navigating from the Customer Order Pick Menu to Customer Orders All, or, if you are only picking up orders that are in the freezer, you could select Customer Order Pick Menu - Customer Orders Freezer directly:
In LS Central you can navigate to the Customer Order Store Picking Profiles page where you can set up a specific profile for each store.
You can customize your profile:
- Specify in what order items are displayed in the app, for example by Shelf Code, No., or Description.
- Allow Multiple pick or not.
- Put up grouping codes, for example Freezer, Cooler, or Dry Goods.
The below image shows an example of different Store profiles:

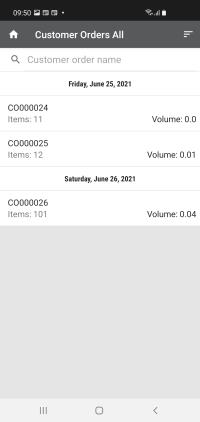
These examples show the difference in app behavior when the Pick multiple order check box in LS Central (see the image above) is selected and when it is not:
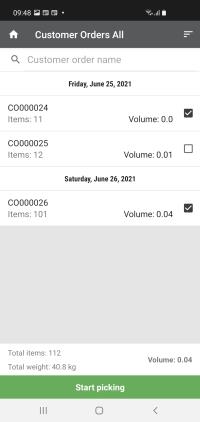 "Pick multiple order" selected "Pick multiple order" not selected
When you have selected one or more orders, a screen opens in the app where you can print labels or scan a barcode to link boxes.
-
To print labels, tap the printer icon in the upper right corner, and select how many labels you want to print.
In the example five labels will be printed: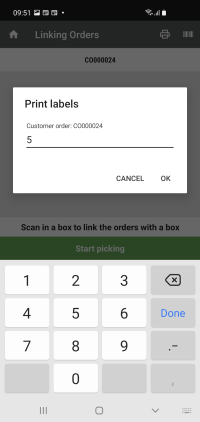
-
Here two barcodes that are linked to a box have been scanned:
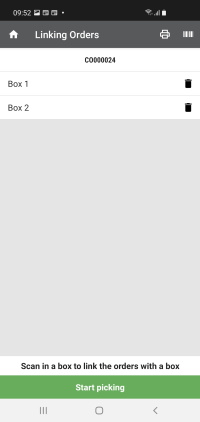
- When you have finished linking boxes to your order or printed labels, you can move on and start picking the items.
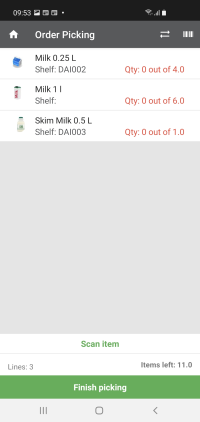
- When picking items, you have two options: scan an item to a box or edit the item quantity.
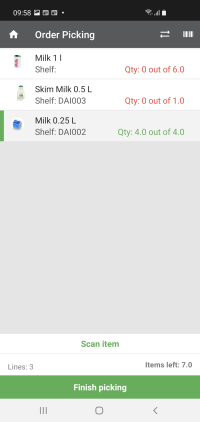
The image below on the left shows when the user is starting to scan items while the one on the right shows when the user has scanned in all items for Milk 0.25L: the Item line turns gray and the Qty field turns green:
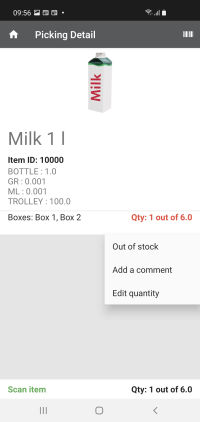
- To edit a line manually, tap the line. You are then routed to an item detail screen with more information about the product.
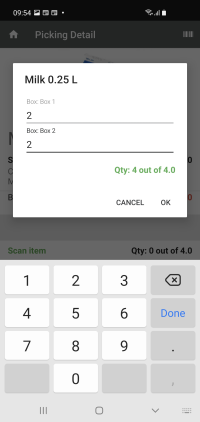
- When you tap the Quantity line, a pop-up menu opens where you can put in a comment, tap Out of stock, or manually edit the quantity.
The images below on the left shows an item detail screen, and the one on the right the pop-up menu after you have tapped the Quantity line. There you can enter the quantity of milk for each box.
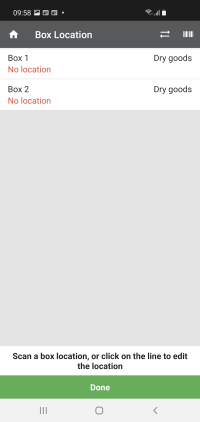
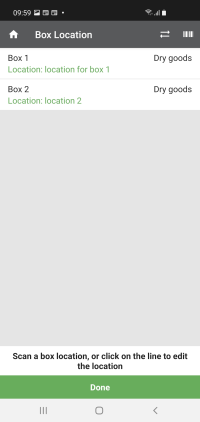
- When you have finished picking all items, tap the Finish picking button. A screen opens where you have to put in a location for each box.
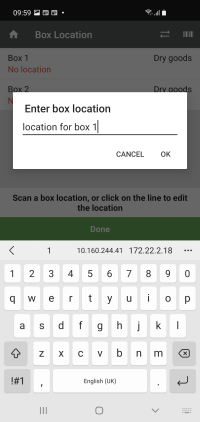
- You can either scan in a location and link it to a box, or you can tap the line and manually enter a location for each box.

-
When you have finished putting in a location for the boxes, tap Done. The customer order is then updated in LS Central. Note that the value in the Processing Status field has changed from Open to Processing and the numbers in Lines to Pick have moved to the Lines to Collect field:
