In this article
Enable Forecourt ribbon style in global actions
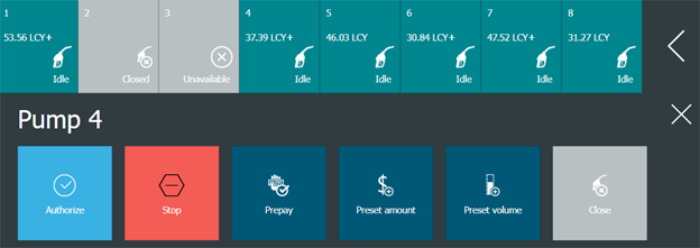
Forecourt ribbon styles let you change the font and skin of the elements in the Forecourt ribbon. The styles are configured in a standard POS Menu and must be enabled.
Enable Forecourt ribbon style in global actions
-
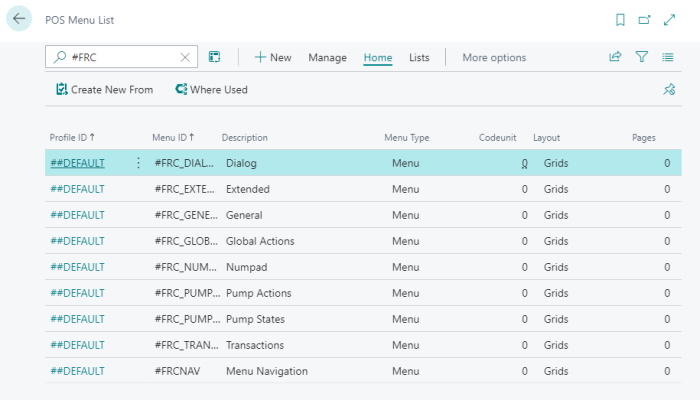
Open the POS Menu List, and type #FRC in the search field. All the menus that define the Forecourt ribbon UI style are displayed:
- Select the Global Actions menu (##DEFAULT #FRC_GLOBAL_ACTIONS), and enable the Config description by clearing the Disabled check box in the Lines section.
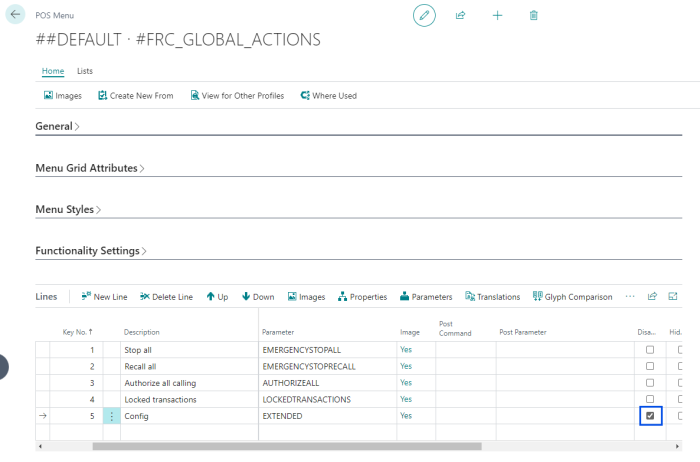
This enables the Config button in the Global action slider on the POS. Note: You must refresh the POS after this change.

When you click the Config button in the slider, a new menu appears where you can access the style menus for the ribbon (click Config). You can see how the styles in the menu are reflected in the Forecourt ribbon.
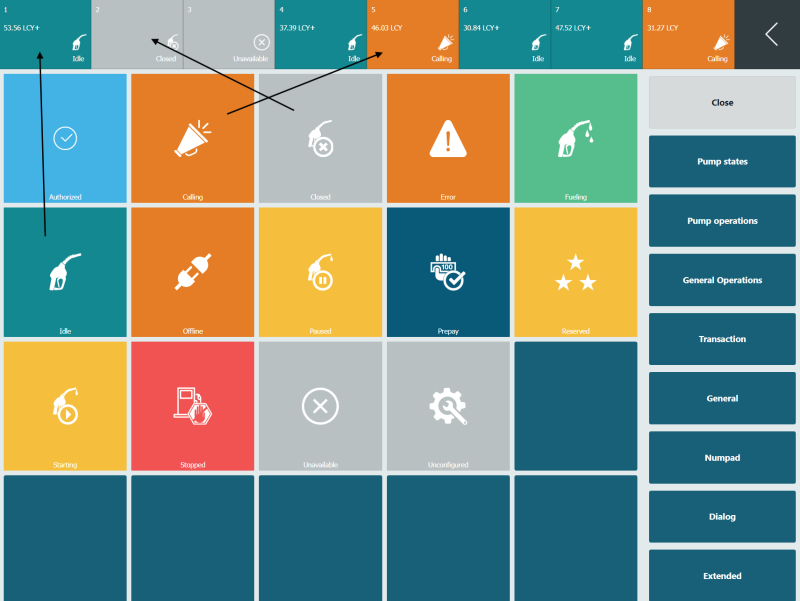
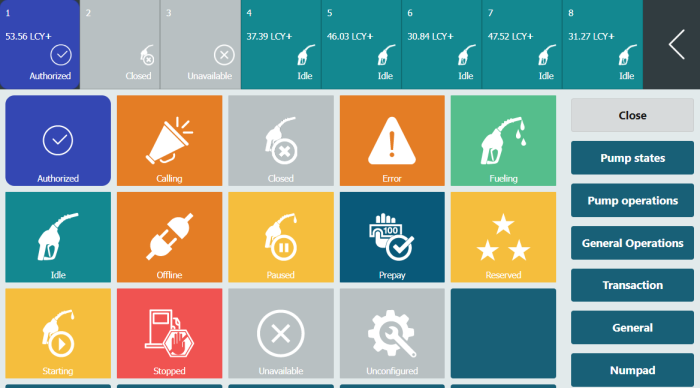
Note: The buttons do not look exactly the same, since the Forecourt ribbon only uses the skin and font from the POS style profile and icons from the Menu button on the POS.
Change styles (skin and font)
This example describes how to change the style of the Authorized pump state.
-
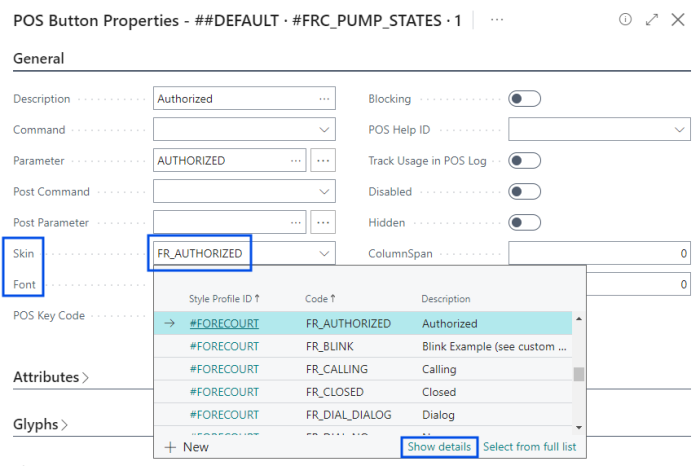
Right-click the Authorized button in the POS Menu (not in the Forecourt ribbon), and select Button Properties. The POS Button Property page opens.
In the Skin and Font fields, you can see that this button uses the FR_AUTHORIZED skin.
- Click the drop-down arrow in the Skin field, and then click the Show details button.
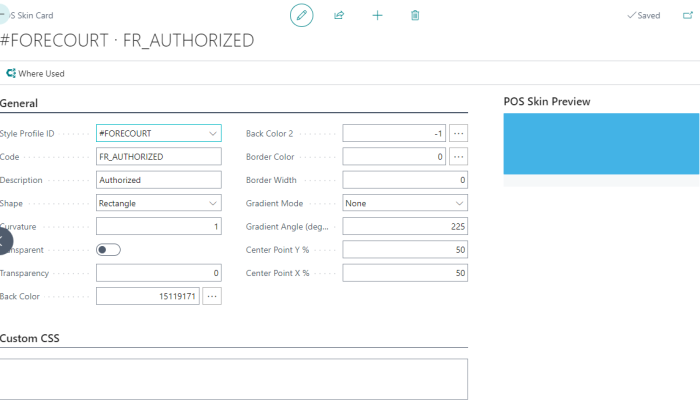
- The POS Skin Card for the FR_AUTORIZED skin is displayed:
-
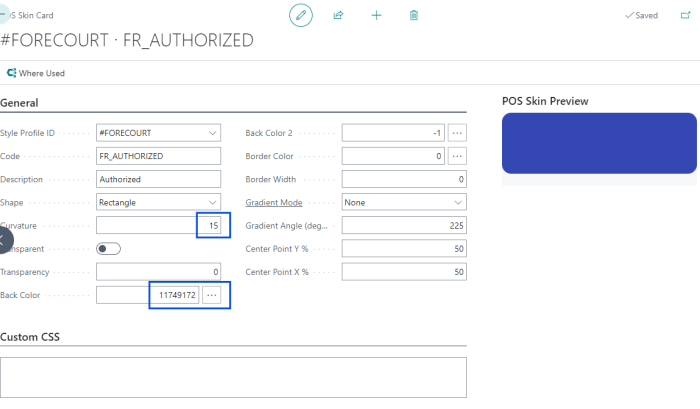
Change the values in the Shape, Back Color, Border Color, and Border Width fields.
-
Refresh the POS, and you see that the button has changed in the POS Menu and the Forecourt ribbon.
You can also use the Custom CSS field. In the example below, a blink animation has been added to the Calling state:
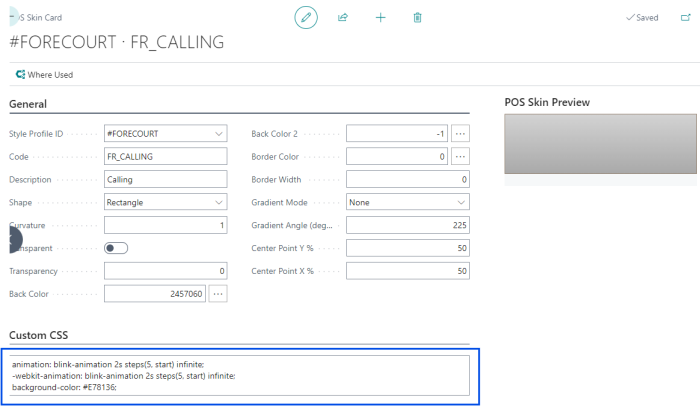
To add blink animation to the skin
The web template contains this CSS:
@keyframes blink-animation {
  to {
    visibility: hidden;
  }
}
@-webkit-keyframes blink-animation {
  to {
    visibility: hidden;
  }
}
And then you can use blink-animation in your Custom CSS:
animation: blink-animation 2s steps(5, start) infinite;
-webkit-animation: blink-animation 2s steps(5, start) infinite;
background-color: #E78136;
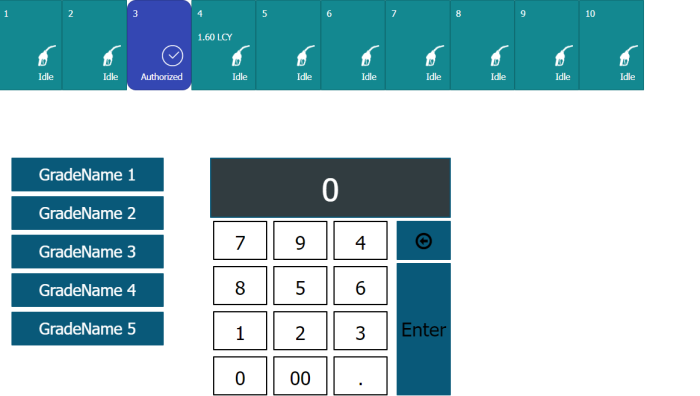
You can do similar things with the Font field and other menus. In the image below, for example,
- the background in the the General menu has been changed to white.
- the numbers in the Numpad menu have been changed to a black font on white with a black border.
Change styles (icons)
This example explains how to change the icons in the ribbon and in the POS menu.
-
In the Retail Image Card, upload an image you would like to use as icon.
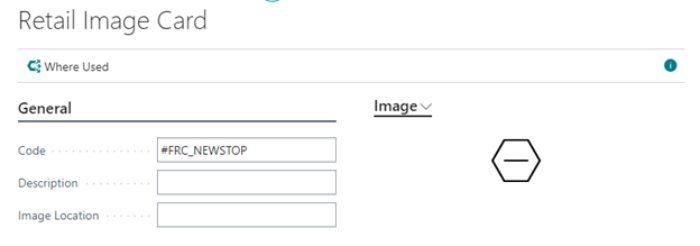
- Go back to the POS Button Properties, and change the image.
- Click the three dots in the Image field to delete the current image line and to add a new one.

-
Refresh the POS to see the result in the Forecourt ribbon.
