In this article
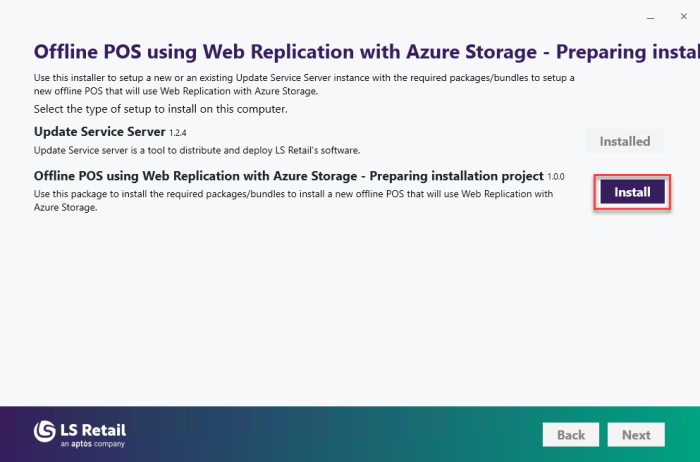
Run again the Offline POS using Web Replication with Azure Storage - Preparing installation project installer as Administrator and install the Offline POS using Web Replication with Azure Storage – Preparing installation project component.
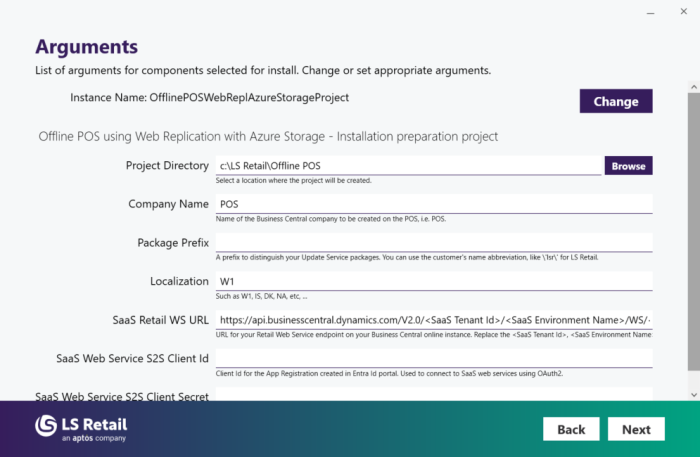
You will be presented with a set of fields that you are required to fill out:
- Project Directory: Select a location where the project should be created. Default value: C:\LS Retail\Offline POS
- Company Name: Name of the Business Central company created for the POS. Default value: POS
- Package Prefix: Any Update Service packages you create for this project will get this prefix. For example, if your customer is called LS Retail you might use the abbreviation like “lsr” and the packages created using the provided scripts will be called, for example, “lsr-license”.
- Localization: Enter the localization code matching the Head Office instance in the cloud, such as W1, IS, DK, or NA, and so on.
This is going to be used when setting up the database for the POS, so that the platform and application matches the same localization as on the Head Office.
- SaaS Retail US URL: The URL to the RetailWebServices web service endpoint, in the Business Central online instance.
Replace the <SaaS Tenant Id>, <SaaS Environment Name>, and <SaaS Company Name>.
The expected format is:
https://api.businesscentral.dynamics.com/v2.0/<SaaS Tenant Id>/<SaaS Environment Name>/WS/<SaaS Company Name>/Codeunit/RetailWebServices
Example: https://api.businesscentral.dynamics.com/v2.0/1c7cbf82-aa4a-49a5-97cf-4004dc33116f/Production/WS/Master%20Data%20Company/Codeunit/RetailWebServices
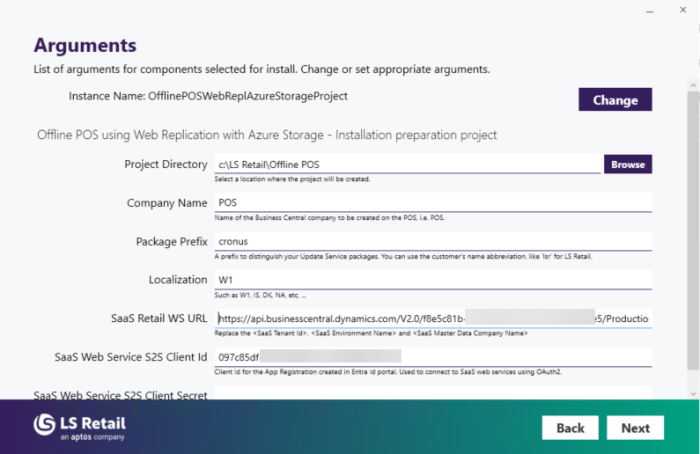
- SaaS Web Service S2S Client ID: App ID that you created on the Entra ID portal. See How to: Set Up an Azure Active Directory App.
- SaaS Web Service S2S Client Secret: The secret created for the App ID. See instructions on How to: Set Up and Azure Active Directory App specified above for the user.
Note: For security reasons, it is advisable to leave the SaaS Web Service S2S Client Secret parameter in this step so that it is not included unencrypted in the installer and you can fill it in later when running the offline POS installer.
Example:
Videos
Offline POS: Creating Update Service packages (2/3)