The following steps should be executed in the SaaS environment to where the data is going to be migrated.
Note: The Cloud Migration Tool is part of the Dynamics 365 Business Central in SaaS.
Here you define the connection pipeline between the on-premises database and Business Central online/LS Central SaaS.
- Click the
 icon, enter Cloud Migration Setup, and select the relevant link.
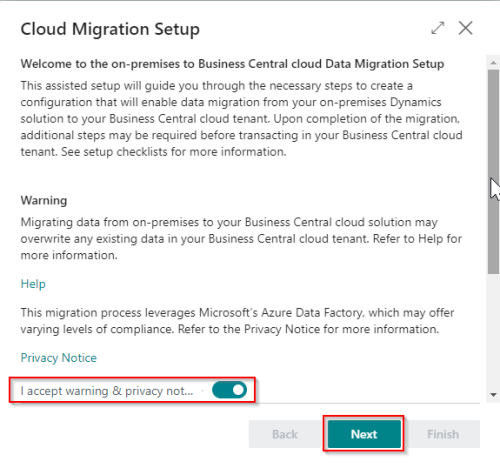
 - Welcome and Consent page:
This page provides an overview of what the wizard will do. You must agree to the displayed warning message before continuing to the next step.
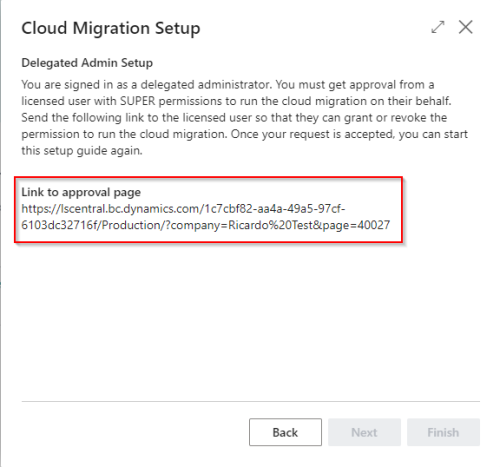
- Delegated Admin Setup:
If you are running the Cloud Migration Tool as a delegated admin user, you will be presented with this prompt. You need to ask for permission from a licensed user with SUPER permissions to run the data migration on behalf of that user.
You can copy the link for the approval page for that purpose.
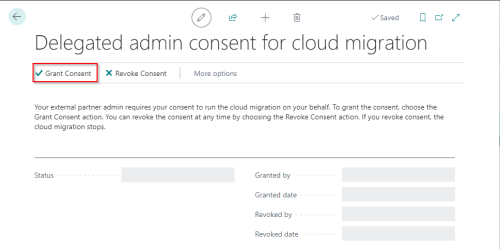
Alternatively, the licensed user with SUPER permissions can grant permissions by opening the same page directly in LS Central SaaS by searching for Delegated admin consent for cloud migration.
- Product selection:
- On this page, specify the on-premises solution that you want to replicate data from.
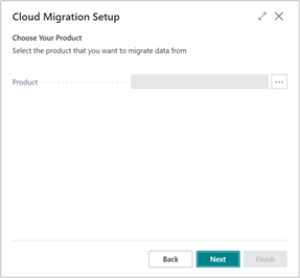
- Select More to see the options:
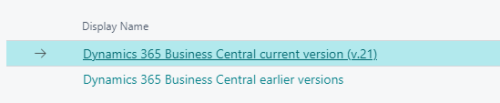
- Dynamics 365 Business Central current version (v.xx)
Select this option if the on-premises and SaaS environments run on the same major version. - Dynamics 365 Business Central earlier versions
Select this option if the on-premises environment runs on a major version earlier than SaaS.
- On this page, specify the on-premises solution that you want to replicate data from.
- Cloud Migration Setup:
- Define your SQL database connection
Select SQL Configuration:
- SQL Server - for an on-premises SQL Server, either running on a local machine or an Azure virtual machine
- Azure SQL - for an Azure SQL database.
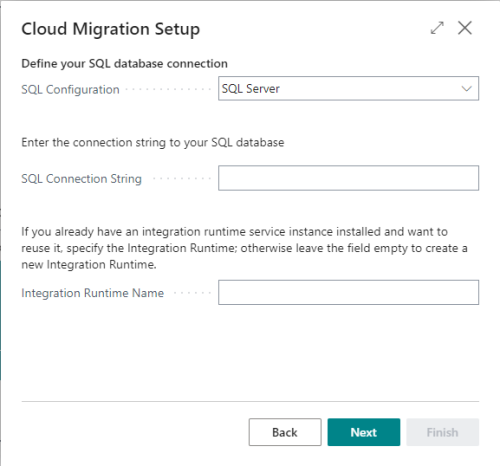
This SQL Connection String is part of the Before You Start steps. For more information see SQL Server Connection String.
Integration Runtime Name:
If your SQL connection is SQL Server, you must specify the runtime service that will be used to replicate the data from the defined source to Business Central Online. The integration runtime must run on the machine holding the SQL Server database. If you do not already have a runtime service, leave the field empty and click the Next button.
If you leave the Integration runtime name field empty, a new page (see Integration Runtime Setup below) appears where you can download the self-hosted integration runtime that you must install. Follow the instructions on the page.
- Integration Runtime Setup
- Download and install the self-hosted integration runtime component using the link on the page.
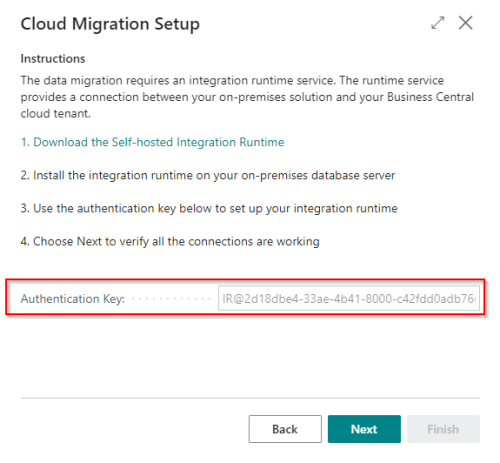
- Copy the Authentication Key, and use it to register the self-hosted Integration Runtime:
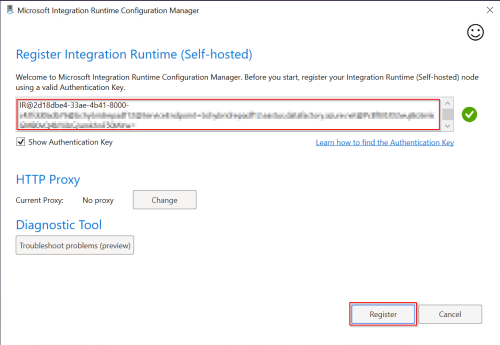
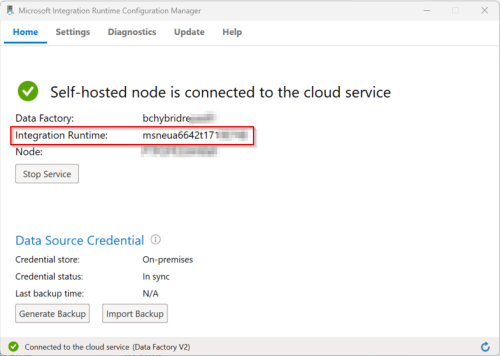
- When the Integration Runtime node has been successfully registered, click Launch Configuration Manager. You can check the node's status and have the Integration Runtime name there.
- Return to the Data Migration Setup page, and click Next.
- Download and install the self-hosted integration runtime component using the link on the page.
- Select companies to migrate
- From the list of companies from your on-premises solution, the source of the migration, select the companies you want to migrate data from.
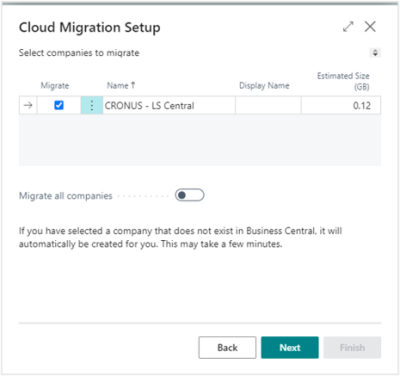
Note: This process may take several minutes, depending on the number of companies created.
- From the list of companies from your on-premises solution, the source of the migration, select the companies you want to migrate data from.
- Define your SQL database connection