Changing a Style Profile, Example
Example: Change a Style Profile for a POS setup
- This example is done in the Demo Data company.
- This is the Hyper POS with the active Style Profile #HYPER.
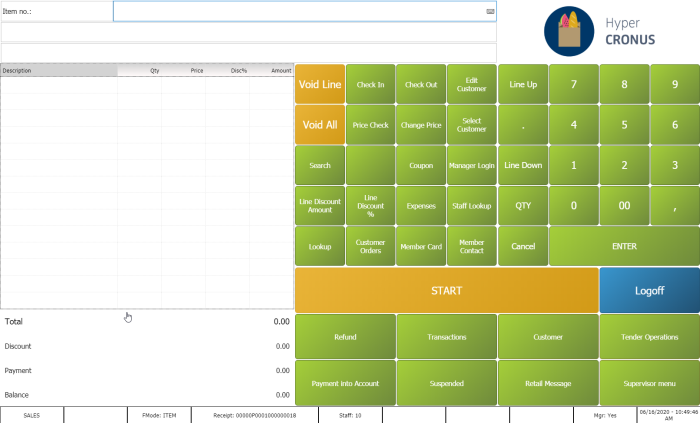
-
- You can do this by changing the value in the Style Profile field on the POS Terminal Card or the Staff Card.
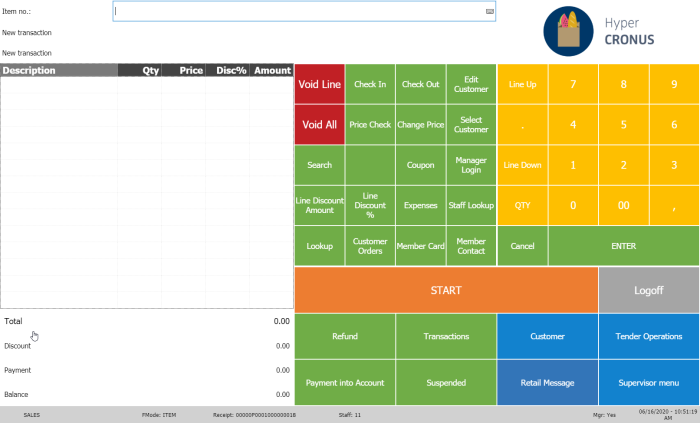
- Restart the POS.
This is the same POS but now with different colors and fonts as defined in the active Style Profile #METRO.
To see how easy it is to change the look of the POS, do the following:
- Copy the Style Profile #HYPER to a new Profile: #TEST.
- Change the #TEST Style Profile.
- Change the SKIN shape to Ellipse for all Skin lines.
- Change the Font Name to Impact for all Font lines.
- Change the Font Color to Red number 255 for all Font lines.
- Change the ##DEFAULT Color Setup to grey number 12632256.
- Add a color line to your #TEST profile with code #MENUBUTTONSPACE and give it color grey number 12632256
- Create a new Staff ID that has Interface and Menu Profile as #HYPER and Style Profile as #TEST
- Restart the POS and use the new Staff ID.
The HYPER POS is now like this:
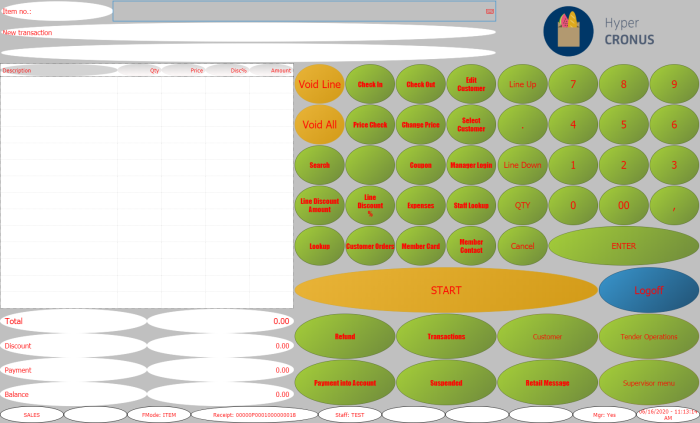
Tip: The above example shows how easy it is to change the look of the POS. The #TEST Style Profile is not an ideal look, but it shows well how easy it is to change the look.