Example: Changing skin and fonts for Leo layout
In this example you will look at the Leo POS in the Demo Data Company and do some changes for the Item part
- Look at the ITEMFUNCTIONS menu in Menu Profile #LEO
- Change the Skin and one Font fields for this menu to understand better how this works.
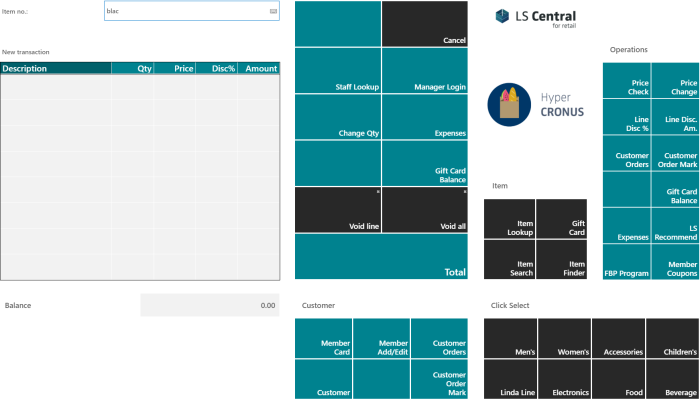
The Leo POS:

The menu attributes and Lines for the ITEMFUNCTIONS menu:
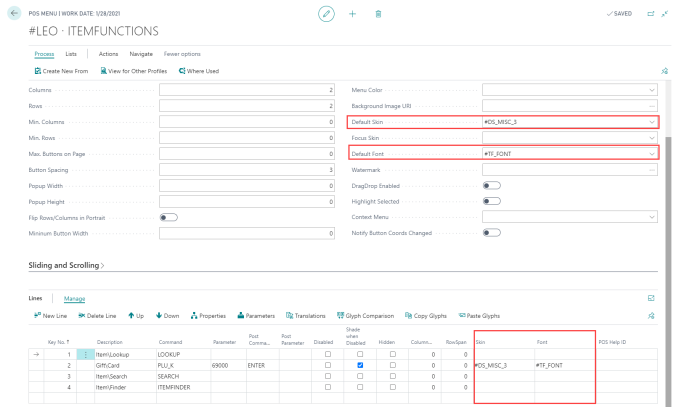
- The Skin and Font in the Menu Attributes control the skin and font for the buttons in this menu unless the menu lines have specific values or the POS commands setup control it.
- This can however be overwritten by the settings for the lines and rules with skin and font settings for the POS Commands.
- The Button Skin is #DS_MISC_3 has grey skin color.
- The Button Font is #TF_FONT has a dark grey font color.
The goal is to change the four buttons in the Item group to black buttons with white font:
- This setup is the same as is for example on the Void buttons.
To do the change:
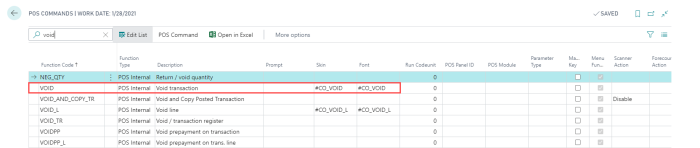
- Change the menu and have it with
- Skin as #CO_VOID
- Font as #CO_VOID
Note: You need to change one line of the menu lines as well, this is a line with POS Command PLU_K which is set by default with blue-green color.
- Start the POS again and look at the #Leo POS.
- The Item part has black buttons with white font:
Next you change the color of the buttons for the Item part very quickly and easily:
- Open Style Profile #Leo which is the active style profile in this example.
- Change the Skin line #CO_VOID to a dark red color.

- Start the the POS again.
The Leo POS after the change:
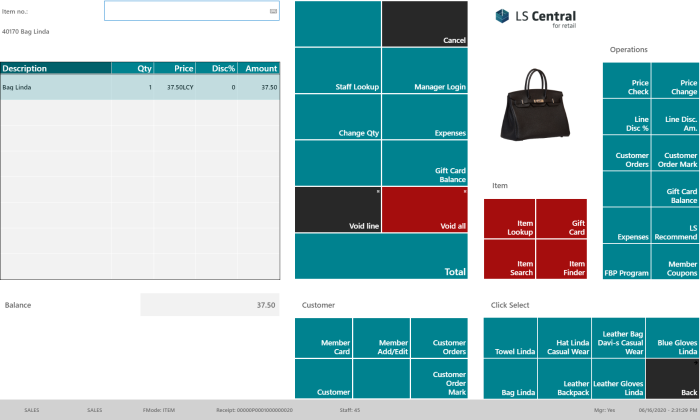
- The buttons in group Items are now dark red.
- The button Void all is red as well
- Notice that this menu line has no skin value nor Menu Attributes for the Menu.
- The reason that this button is red is that the Skin value in the POS Command setup sets the skin value used.