In this article
Importing a request collection
Handling variables in a collection
Postman is a powerful tool for testing and managing API requests.
This article explains, step-by-step, how to import a request collection into Postman and how to handle variables within that collection. This is particularly useful for working with Hardware Station Printing Web API, where you might need to repeatedly send requests to various printing endpoints.
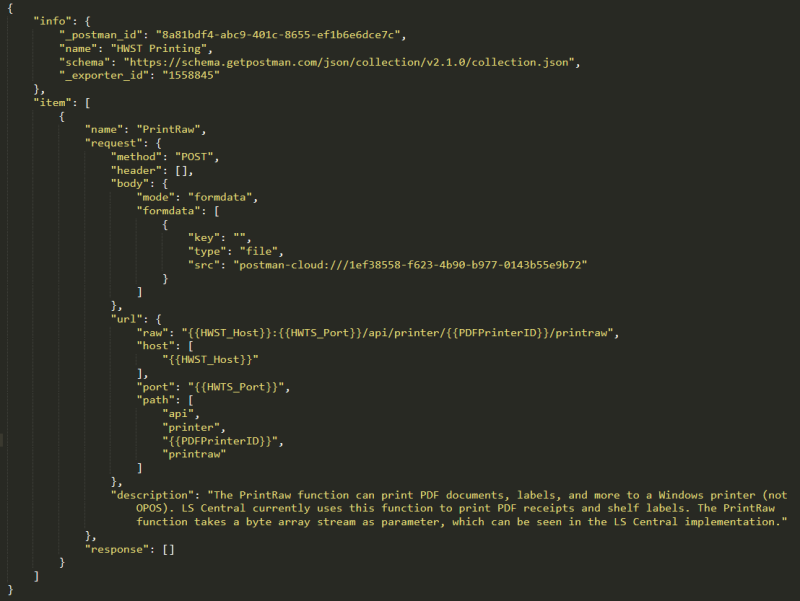
Sample JSON file for import
Below is an example of what your JSON file might look like. Click here to download the file containing the requests to the various printing endpoints.

Importing a request collection
Importing a request collection into Postman allows you to quickly set up and start testing your API endpoints. Follow these steps to import your collection file:
- Launch Postman on your computer.
- You might need to create a Postman account, if you do not already have one. If that is the case, you must click the orange Create Account button in the top-right corner.
- In the top-left corner, click the Import button.
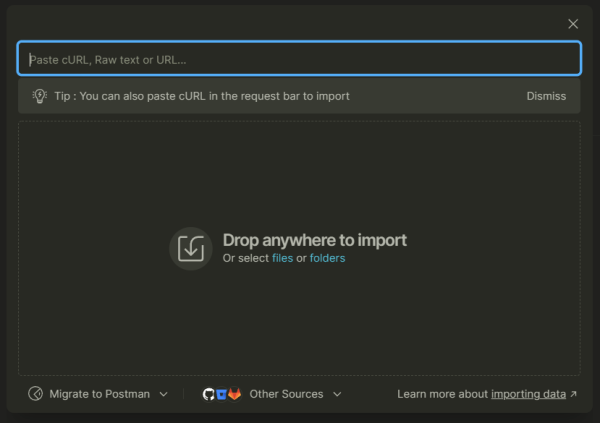
- Once you see the below window, you can upload your file by simply dragging and dropping it inside the box. Alternatively, you can import it manually by choosing the path where the file is located.

- After selecting your file, click the Import button. The collection is added to your workspace under the Collections tab.
Handling variables in a collection
After importing your collection, it is important to know how to handle the existing variables. These variables make your requests dynamic and customizable.
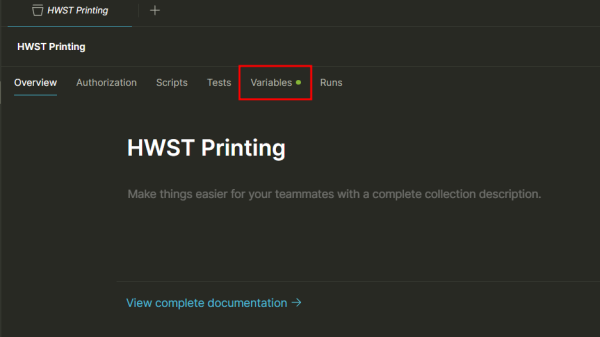
- Once you click the collection name you just added, you see this screen:

- In the collection editor, go to the Variables tab. Here, you see the predefined variables.
- To change the value of a variable, simply click the Current Value field, and enter the new value.
- These variables can be referenced in your requests using double curly braces. For example:
- URL: '{{HWST_Host}}:{{HWTS_Port}}/api/printer'
- Body: '{"PrinterConfig":{ "DeviceID": "{{VirtualPrinterID}}, "DeviceHost": "{{HWST_Host}}:{{HWTS_Port}}"}}'