When using the In-store worksheets for inventory management the user can “Edit” the Expiry worksheet. If no entries are in the worksheet, then the following dialog will open:
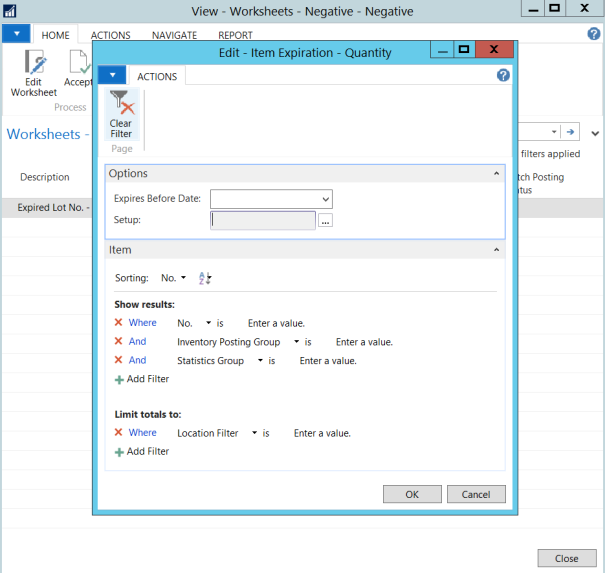
The user must set the “Expires before Date” to select which items will be pulled into the worksheet, along with lot number details.
When clicking on “OK” the process is executed and the worksheet is populated based on the information in the stock transactions. Lot numbers and expiry dates are populated in the worksheet journal.
The user can select the “Setup” assist edit button to access more detailed setup:
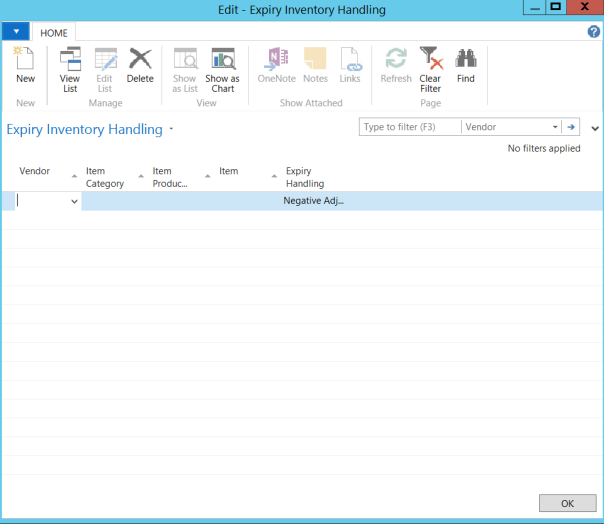
The Expiry inventory handling setup allows the user to define the default handling of the items, according to vendor, item category, item product group or specific item. The “Expiry Handling” then defines if the item should be assigned to a “negative adjustment” worksheet, or to a “Purch.Return” worksheet.
Basically, this setting defines if any items should be excluded/included when the expiry process is executed, depending on if the user is processing items which should be returned to the vendor, or items that should be simply thrown away.