In this article
Creating Customer in Shopify and Sync to Business Central
Creating Customer in Business Central and Sync to Shopify
The Shopify Business Central Connector supports seamless member management between Business Central and Shopify, ensuring that customer information remains consistent across both systems. This synchronization helps maintain accurate customer records, improves personalization, and enhances the overall shopping experience for our customers.
The Member Management feature lets you:
-
Support two‑way customer synchronization, keeping customer records created in either Shopify or Business Central consistent across both systems.
Initial Configuration
Before creating a customer, ensure that the Shopify Can Update Contacts option is enabled on Shopify Shop Card page.
Creating Customer in Shopify and Sync to Business Central
- Open Shopify Admin, go to Customers - Add Customer, enter the customer’s first name, last name, email, phone number, and address, then select Save.
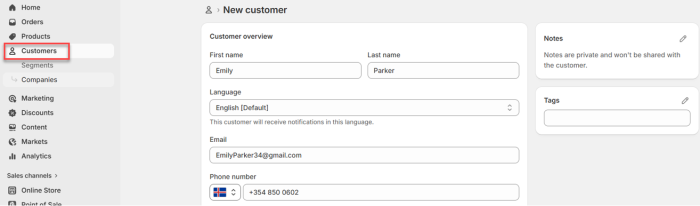
Note: Ensure that all required customer details are entered; otherwise, the customer creation process may fail.
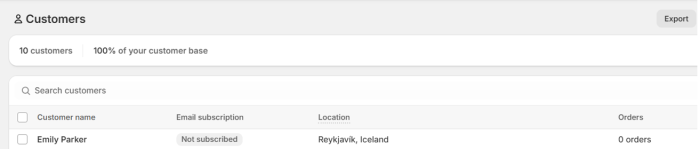
- Open Customers and verify that the newly created customer appears in the list .
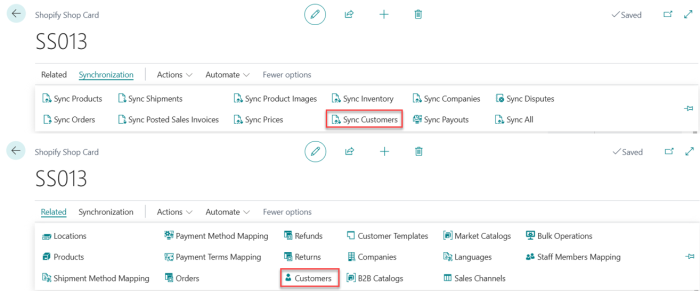
- In Business Central, open Shopify Shop Card page and navigate to Synchronization - Sync Customers to retrieve customers from Shopify. Wait until the Job Queue Log displays a Success then, navigate to Related - Customers.
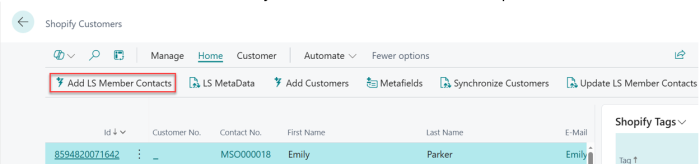
- Select the newly synchronized customer row and click Home - Update LS Member Contacts to create Contact No.
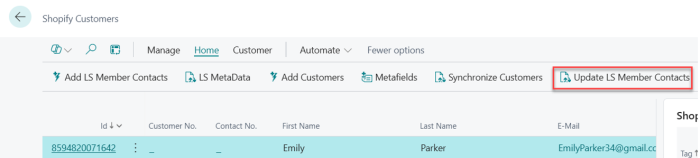

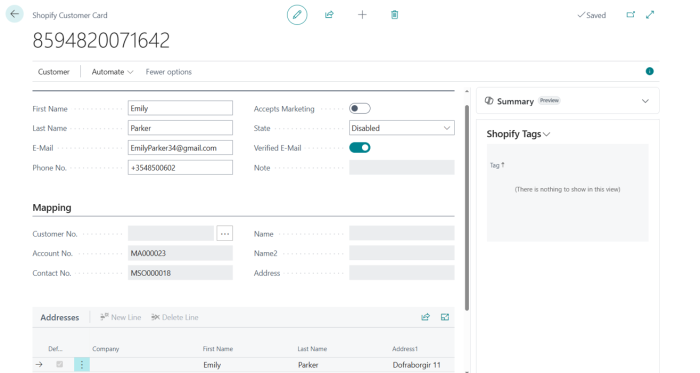
- Click the Id to open the Shopify Customer Card and verify that the customer information has been synchronized correctly to Business Central.
Creating Customer in Business Central and Sync to Shopify
- In Business Central, click the Search icon, enter Member Contacts, and select the relevant page.
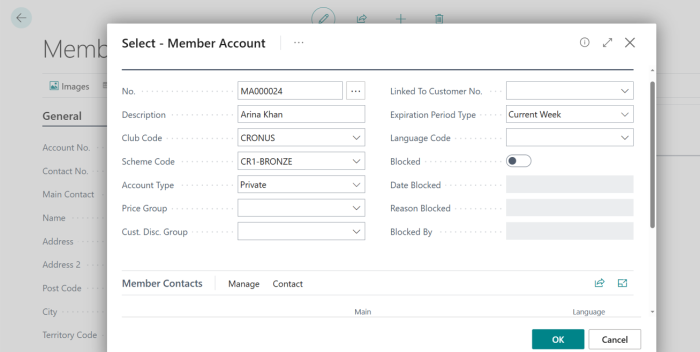
- Click New to create a new member contact, then create a new Account No. and fill in the required fields to complete the member account setup.
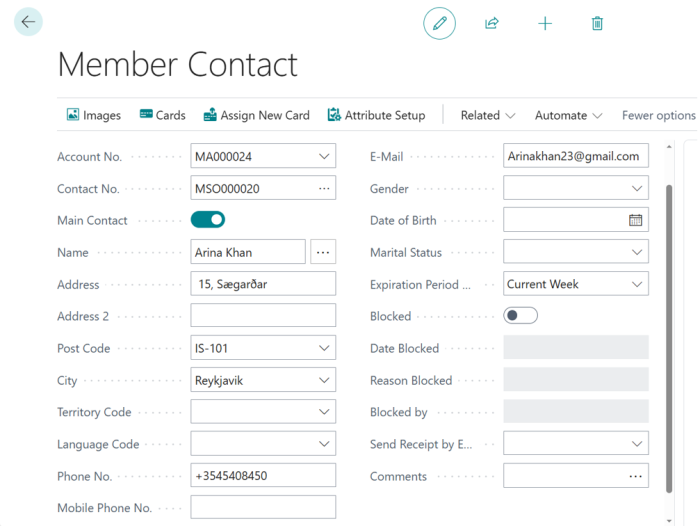
- Complete the Member Contacts page by filling in all remaining required fields. Ensure that the Name, Address, Email Address, and Phone Number are entered accurately to avoid synchronization issues.

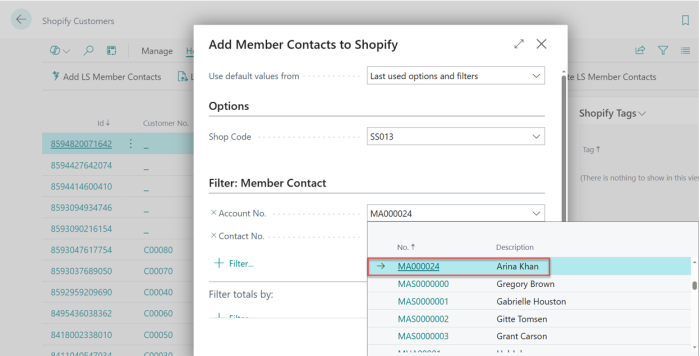
- On the Shopify Customers page, click Home - Add LS Member Contacts to add the new member contact created and you can choose them from drop down menu.

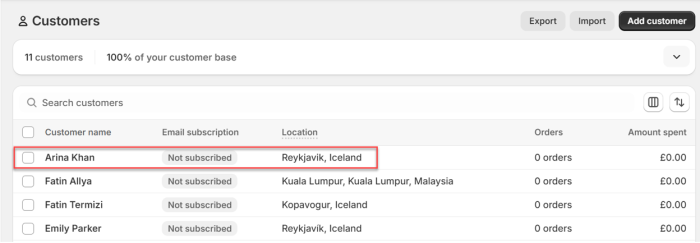
- Open Shopify Admin, navigate to Customers, and verify that the customer has been added to the customer list.
Note: The customer is automatically added to Shopify after you select OK on the Add Member Contacts to Shopify page.