In this article
On-Premises Authentication Overview
Entering On-Premises Authentication Settings
Post-Installation Verification
This topic describes the additional installation and configuration steps required when installing the Self-Checkout Connector (SCO) for an on-premises LS Central deployment.
It assumes that the common installation steps described in Installing the Self-Checkout Connector – Common Flow have already been completed.
On-Premises Authentication Overview
In on-premises deployments, SCO authenticates against Business Central using HTTP Basic Authentication when calling BC Web Services.
Authentication requires:
- A NavUserPass Business Central instance
- Either a Business Central user password or a Web Service Access Key
Using a Web Service Access Key is recommended, as it allows access to be revoked without changing the user password.
Business Central Requirements
Before continuing the installation, verify that the following Business Central requirements are met:
- The Business Central environment uses NavUserPass authentication.
- The SCO user has permission to access required Web Services.
- Either a user password or a Web Service Access Key is available for authentication.
Generating a Web Service Access Key
- Open Business Central.
- Search for Users.
- Select the user that SCO will use for authentication.
- In the Web Service Access Key field, generate a new key if one does not already exist.
- Copy and securely store the key.
This key is used as the password when SCO authenticates using HTTP Basic Authentication.
Entering On-Premises Authentication Settings
When prompted, enter the following authentication details:
- Username – Business Central NavUserPass username
- Password – Either the user password or the Web Service Access Key
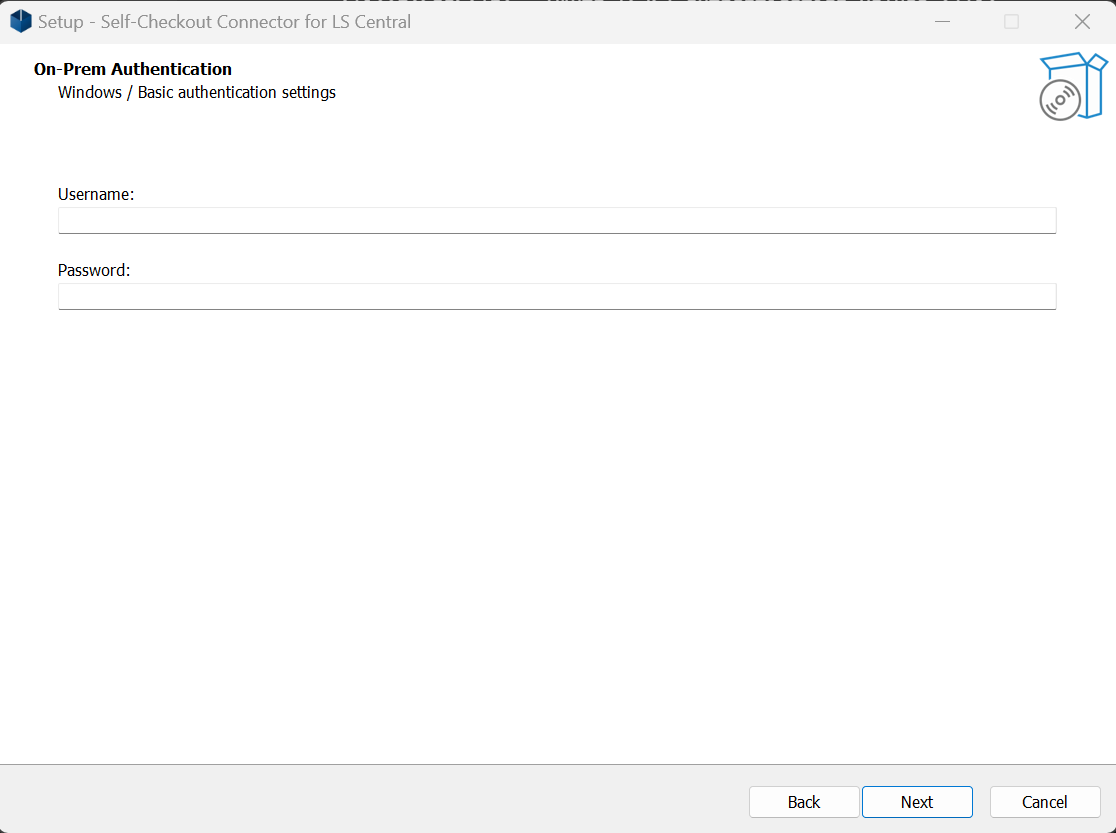
SCO uses these credentials to authenticate all Web Service calls to Business Central.
Completing the Installation
After authentication details are entered, the installer completes the installation by:
- Validating the provided credentials.
- Saving authentication settings to the SCO configuration database.
- Finalizing the IIS configuration.
When installation is complete, the SCO Management Portal opens automatically.
Post-Installation Verification
After installation, verify the following:
- The SCO Management Portal loads without errors.
- The connector status is Running.
- Web Service calls to Business Central succeed.
If authentication settings are modified after installation, the SCO Connector must be restarted for the changes to take effect.
Next Steps
Continue with the configuration steps specific to your device manufacturer:
- Configuring SCO for Diebold Nixdorf Devices
- Configuring SCO for NCR Devices
- Configuring SCO for Custom Devices