In this article
Installing the Self-Checkout Connector – Common Flow
Installing the Self-Checkout Connector – Common Flow
Selecting Installation Components
Installing the Self-Checkout Connector – Common Flow
Deployment-Specific Authentication
This topic describes the installation steps that are common to all Self-Checkout Connector (SCO) deployments, regardless of deployment type (On-Premises or SaaS) or device manufacturer.
Manufacturer-specific configuration and deployment-specific authentication steps are covered in separate topics.
Before You Begin
Before starting the installation, ensure that:
- All system prerequisites are met.
- Business Central is configured according to the Business Central Configuration Requirements for SCO.
- The correct SCO installer version matching the LS Central major version has been downloaded from the User Portal.
Starting the Installer
- Log on to the target machine using an account with local administrator privileges.
- Run the SCO installer.
The installer welcome screen is displayed.

Selecting Installation Components
During installation, you are prompted to select which components to install.
- Self-Checkout Connector – Required for all installations.
- NCR Connector – Optional. Required only for NCR self-checkout devices.
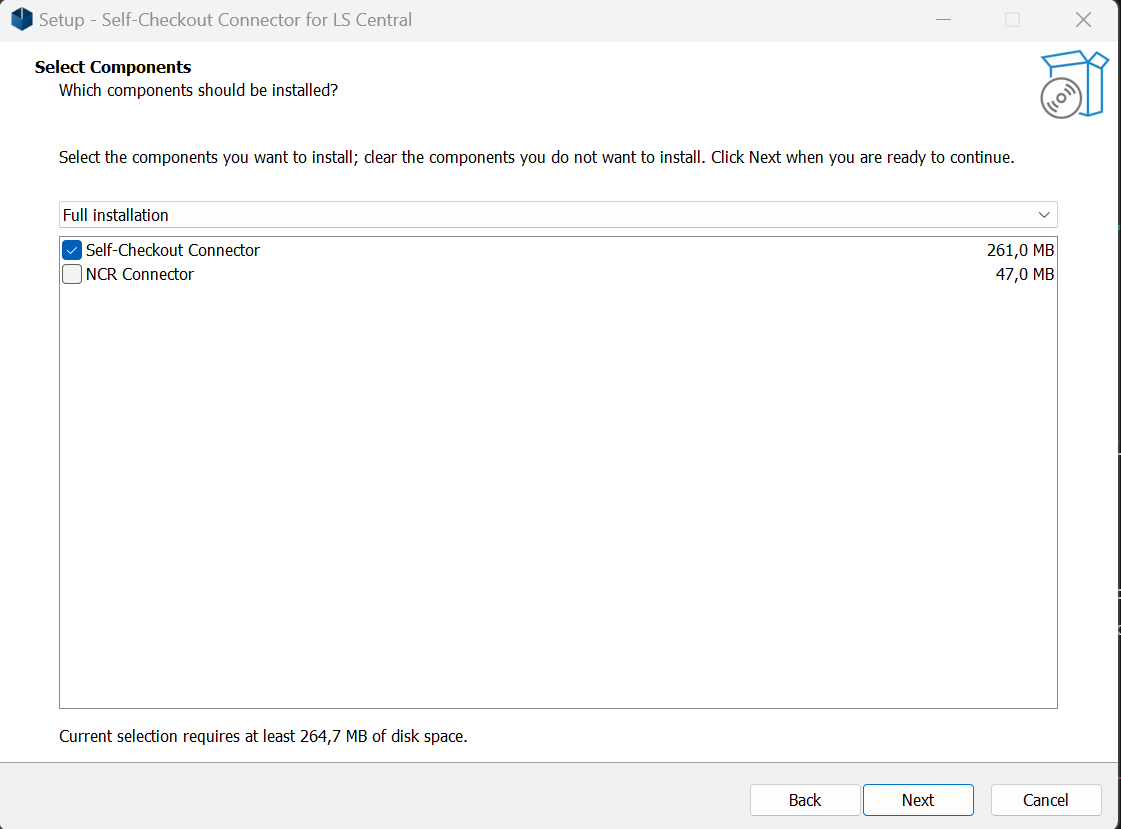
If you are installing SCO for non-NCR devices, select only the Self-Checkout Connector option.
Entering Common SCO Settings
The installer prompts for the common configuration values required for SCO to communicate with Business Central and Hardware Station.

- Store ID – Store identifier matching the store configured in Business Central.
- Service Token – Token generated in the Self-Checkout Connector card.
- Hardware Station Base URL – Base URL of the Hardware Station used for payments and printing.
- LS Central Base Endpoint – Base Endpoint of the LS Central Business Central instance.
- Manufacturer – Device manufacturer (Diebold Nixdorf, NCR, or Custom).
- Deployment Type – On-Premises or SaaS.
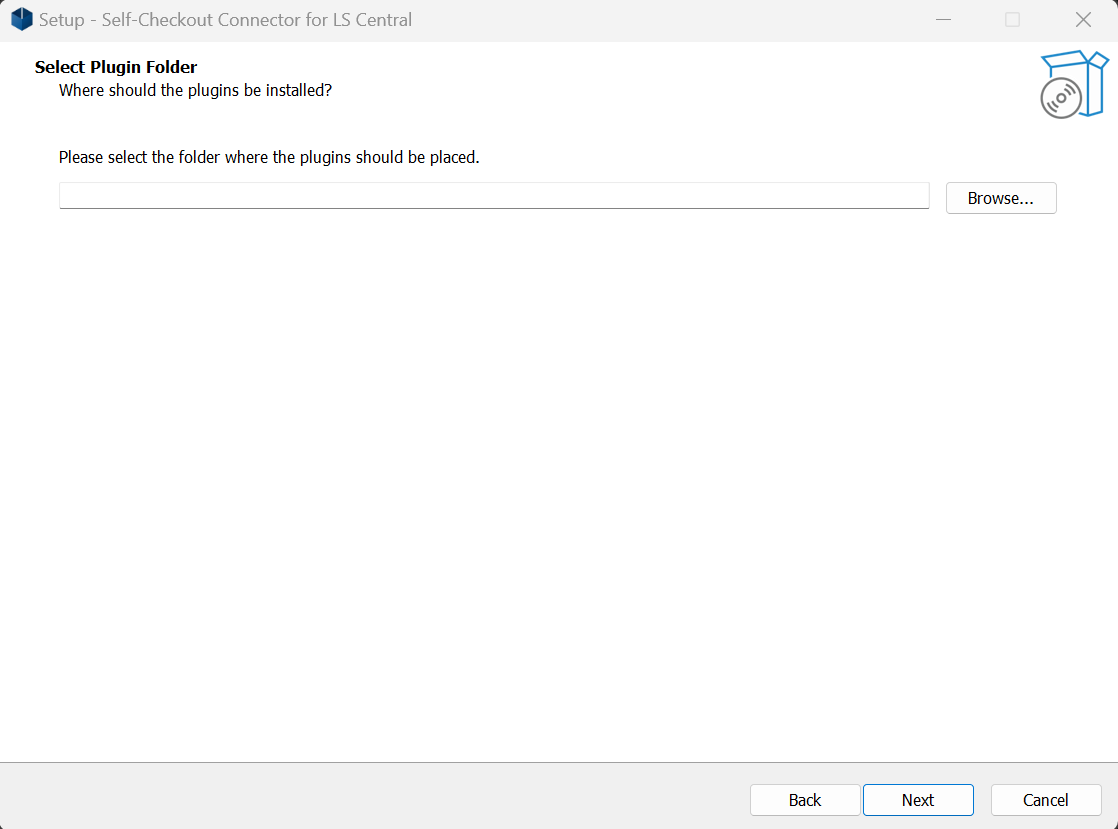
Manufacturer-Specific Options
If Custom is selected as the manufacturer, the installer prompts for a system folder where custom plugin assemblies are located.
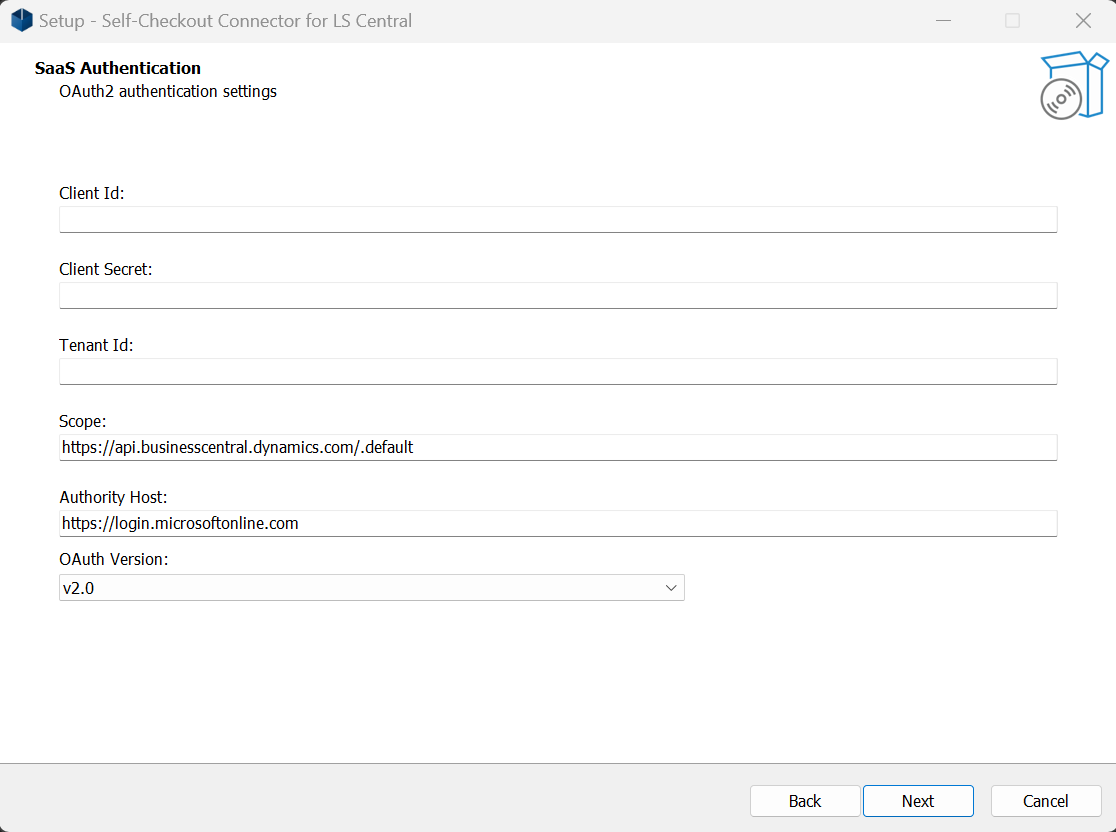
Deployment-Specific Authentication
After entering the common settings, the installer prompts for authentication details based on the selected deployment type.
- On-Premises – Username and password for Basic HTTP authentication.
- SaaS – OAuth (S2S) authentication values.
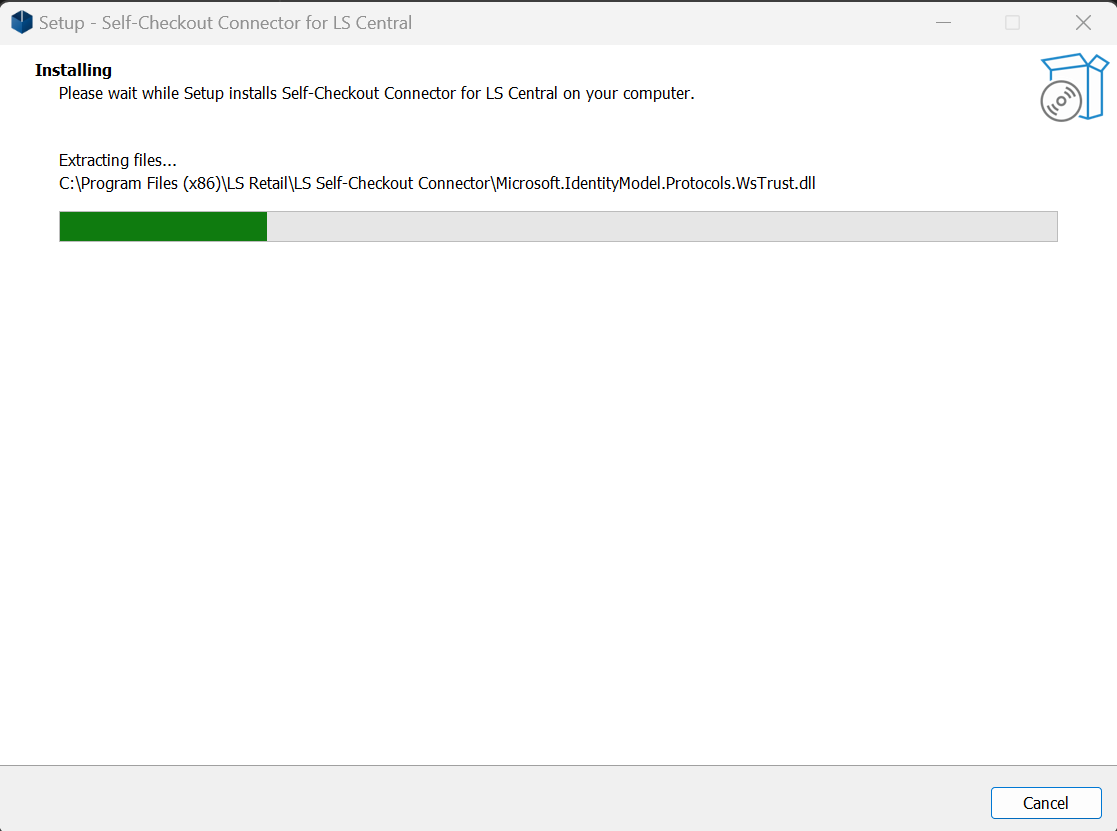
Completing the Installation
After all required information is provided, the installer performs the following actions:
- Copies SCO application files to the destination folder (IIS).
- Updates the SCO settings database with the provided configuration values.
- Configures the IIS site for the SCO application.
SCO Management Portal
When installation is complete, the installer attempts to open the SCO Management Portal.
From the portal, partners can:
- Review and update SCO configuration
- View connector and terminal status
- Access logs
- Start or stop the SCO Connector
Next Steps
- Installing SCO for On-Premises Deployments
- Installing SCO for SaaS Deployments
- NCR Connector Installation (NCR devices only)